Homemade Dark Chocolate Marshmallows
Happy almost-Christmas everyone! It’s been a weird holiday season, with no snow in sight here in Northern Minnesnowta. But there’s nothing like a pile of delicious seasonal treats to get you in the holiday spirit, right? I know marshmallows might not be on your list of typical holiday treats, but, honestly, they should be. Especially these homemade Dark Chocolate Marshmallows.
Marshmallows Are the New Cookies
If you’ve been following along on this blog for a while, you may have noticed I’ve become a little obsessed with homemade marshmallows. Case in point, the three other marshmallow recipes I’ve already created:
Some would call this a “problem;” I prefer to call it “delicious fun.”
Regardless, it’s safe to say I LOVE making and eating homemade marshmallows. I might go so far as to say they could replace cookies as my favorite think to bake (yes, I know you don’t really “bake” marshmallows, you sort of cook them — but let’s not digress).
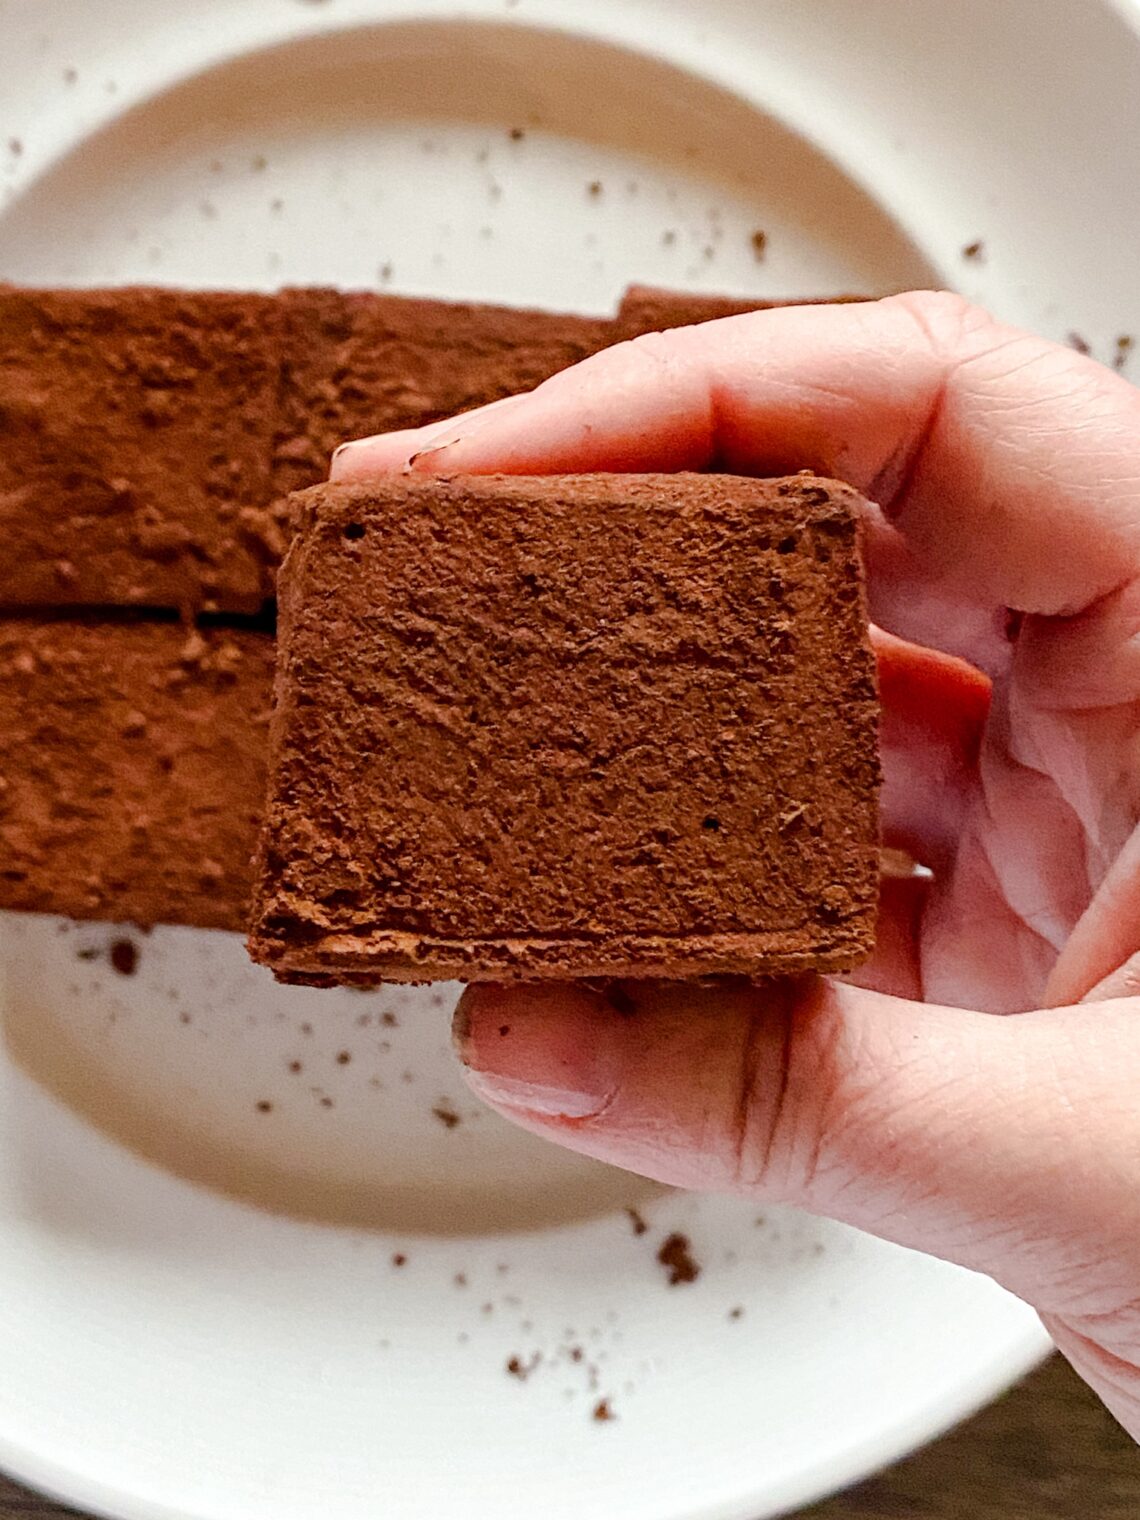
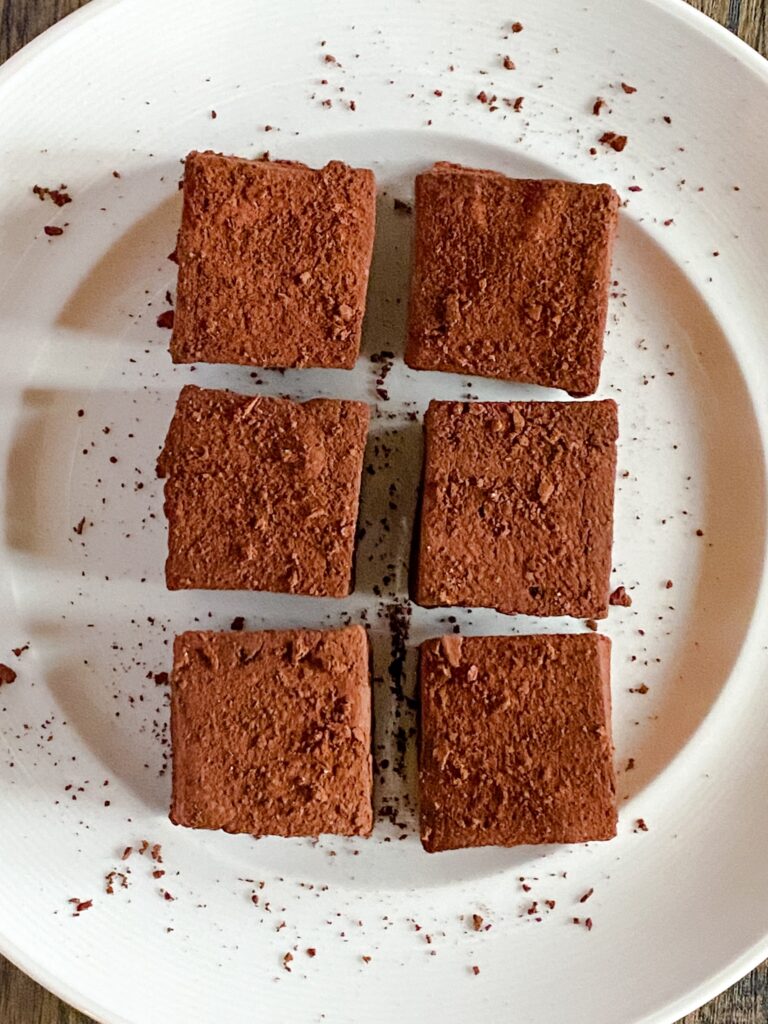
I mean, just LOOK at them! They’re beautiful 🥲
How To Use Dark Chocolate Marshmallows
“Okay, but what do I DO with homemade chocolate marshmallows?” you might ask. And while my first inclination would be to say “duh, you EAT them,” there are actually a few other uses for them:
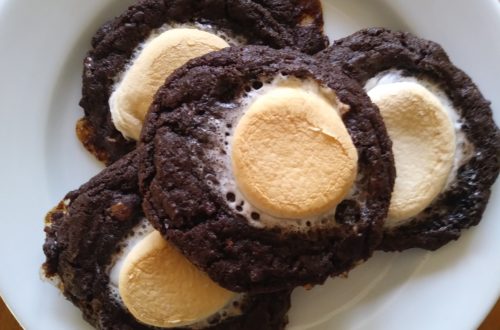
- Make EPIC s’mores. Replace boring store-bought marshmallows with luscious, chocolatey homemade marshmallows for a truly unbelievable s’mores experience.
- Add them to hot chocolate for an extra-chocolatey cup of cocoa.
- Float them in your coffee for a MUCH more fun Monday morning at the office (Marshmallow Mondays, anyone??).
- Use them as an ice cream sundae topping. Wave your kitchen torch over them once or twice for an especially delicious and toasty ice cream topping!
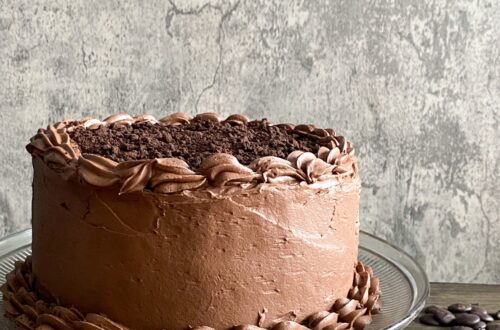
- Top a cake or cupcakes with them. A pile of jumbo homemade marshmallows make a totally fun cake decoration! (TBH, kind of wishing I had made them a year ago to add to my Double Chocolate Mocha Crunch Cake.)
Plus, you can gift them! They’re so pretty in a little clear treat bag. Plus, they last at least a couple of weeks, so you can make them ahead of time. Or, if you want to stand out at your next cookie exchange, bring some homemade ‘mallows! (Yes, I know they’re not actually a cookie, but trust me, your fellow cookie exchangers will love them.)
Tips for Making Dark Chocolate Marshmallows
Never made homemade marshmallows before? Don’t worry, they’re so much easier to make than they seem. They do, however, require the use of a stand mixer. Marshmallows require a LOT of high-speed beating, so I don’t think a hand mixer would work as well here. (But feel free to try it if you want, and let me know how it works!)
Here’s an overview of how to make dark chocolate marshmallows:
- First, grease your pan. I like to use a baking spray that has a little flour in it (like Baker’s Joy or Pam) for extra non-stickiness. But you can use a little oil or butter instead.
- Next, bloom the gelatin. “Blooming the gelatin” means letting it sit in water for a while so it dissolves and starts to thicken. Add the gelatin to some cold water to the bowl of a stand mixer fitted with the whisk attachment. Stir to combine, then let sit for at least 5 minutes.
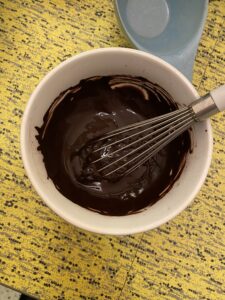
- Make a chocolate sauce. Whisk together cocoa powder, espresso powder (optional, but highly recommended), vanilla extract, and boiling water to create a silky, shiny chocolate sauce that you’ll flavor your marshmallows with.
- Mix the chocolate sauce and gelatin. Once the gelatin has rested in its water for at least 5 minutes, add the chocolate sauce and mix until combined.
- Meanwhile, make a sugar syrup by combining sugar, water, corn syrup, and a little salt in a heavy-bottomed saucepan and bringing it to a boil. Your syrup needs to come up to 250°F, so you’ll need a candy thermometer for this (it doesn’t have to be fancy — a cheap one from the grocery store will do). You’ll also need some patience for this step: it takes a WHILE for it to come up to temp (but it will get there). Note: Don’t like corn syrup? You could try using honey or agave instead (disclaimer: I haven’t tried them myself but have seen lots of other marshmallow recipes that use them).
- Next, add sugar syrup to the mixing bowl. Once your syrup is done, pour it slowly into the chocolate-gelatin mixture while beating at low speed. When all the syrup is added, increase the mixer speed and whip it until it’s thick and fluffy. This step takes about 10-15 minutes. You’ll know it’s done when you see it starting to pull away from the sides of the bowl.
- Pour your marshmallow into the prepared pan, spread it evenly with a spatula, and dust it with a little cocoa-powdered sugar mixture. Then, cover it lightly with a piece of aluminum foil and let it sit at room temperature for 8 hours or overnight.
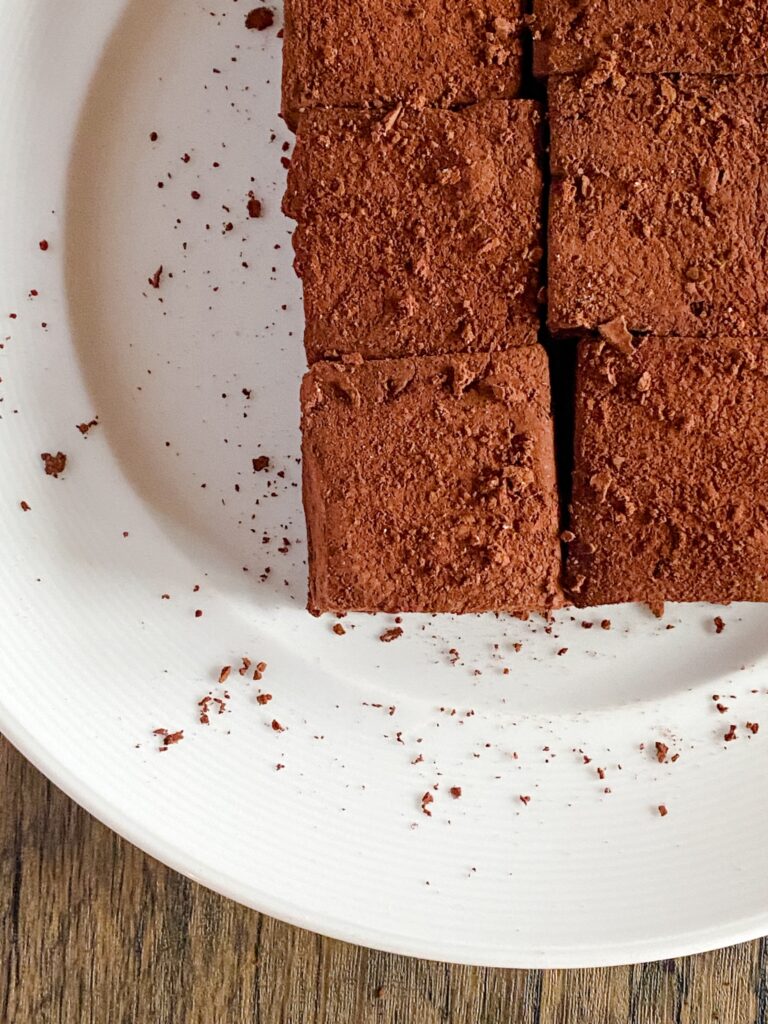
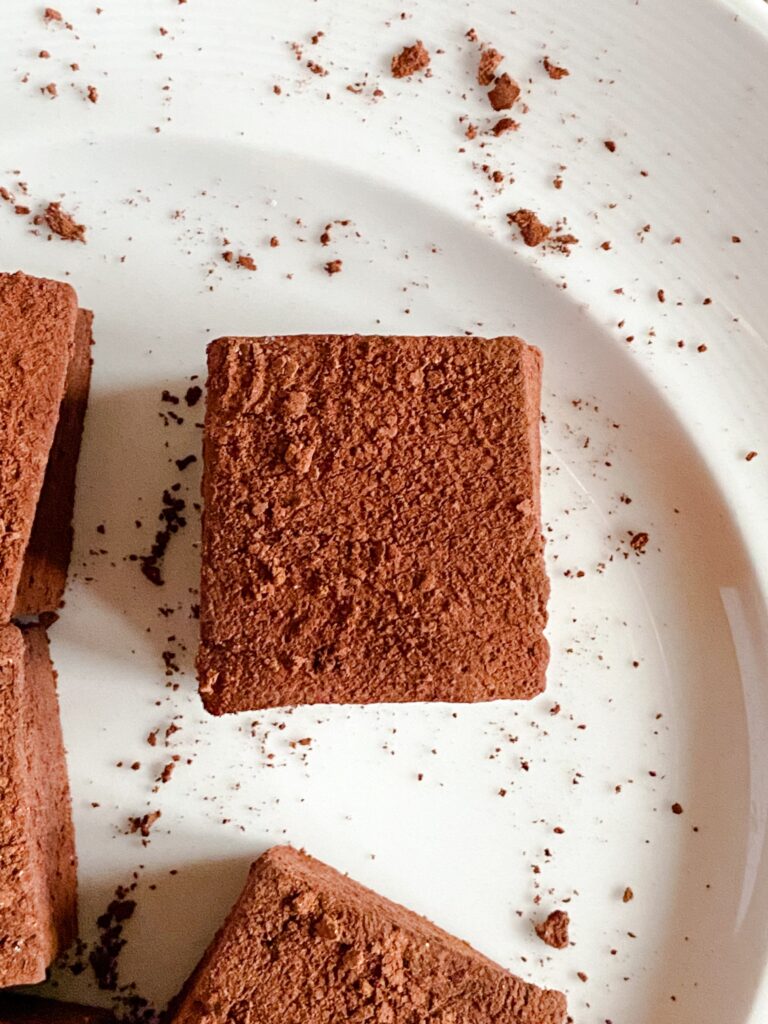
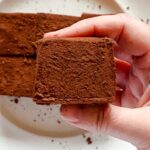
- Finally, dump the ‘mallows out of the pan, cut into pieces, and enjoy! If your marshmallows stick to the pan a little, don’t stress — just gently pry them out with your hands.
Et, voilà! You have homemade Dark Chocolate Marshmallows! I hope you enjoy this recipe as much as I’ve enjoyed creating it.
Wishing you all a merry holiday season and a Happy New Year!
Stay Up-to-Date With the Latest Northern Ginger Recipes
Join my email list to get notified about new blog posts and receive occasional newsletters (if I ever get around to writing them:)).
Homemade Dark Chocolate Marshmallows
Equipment
- 1 Candy Thermometer or other high-temperature thermometer (needs to go up to 250°F)
- 1 Stand Mixer with Whisk Attachment
- 1 Small (1 1/2-2qt) sauce pan
- 1 9×9" square non-metal baking pan*
Ingredients
- 4 packets unflavored gelatin (about 3T + 1 tsp)
- 2/3 c cold water
- 1/4 c Dutch cocoa powder
- 1/2 tsp espresso powder (optional)
- 2 tsp vanilla extract
- 1/4 c boiling water
- 2 c + 2T granulated sugar
- 2/3 c light corn syrup
- 1/2 tsp kosher salt
- 2/3 c water
- 1/3 c Dutch cocoa powder
- 1/3 c powdered sugar
Instructions
- Grease a 9×9" square non-metal baking dish (I like to use baking spray, but a small amount of neutral oil will work great). Set aside.
- Add the gelatin and 2/3c cold water to the bowl of a stand mixer fitted with the whisk attachment. Let stand at least 5 minutes.4 packets unflavored gelatin, 2/3 c cold water
- In a small bowl, whisk together the cocoa powder, boiling water, espresso powder, and vanilla extract until well combined and glossy.1/4 c Dutch cocoa powder, 1/2 tsp espresso powder, 2 tsp vanilla extract, 1/4 c boiling water

- In a 1 1/2-2 qt saucepan, stir together granulated sugar, corn syrup, salt, and 2/3 c water. Heat over medium heat, stirring until sugar dissolves. Then raise to medium-high heat and continue cooking, without stirring, until it reaches 250°F on a candy thermometer.2 c + 2T granulated sugar, 2/3 c light corn syrup, 1/2 tsp kosher salt, 2/3 c water
- Meanwhile, add the cocoa mixture to the gelatin mixture, mixing at low speed until combined.
- Once the sugar syrup comes up to temperature, slowly pour it into the chocolate-gelatin mixture, beating at low speed until all the syrup is added. Raise the mixer speed to high and beat until thick and fluffy (about 10-15 minutes). You'll know it's ready when it starts to pull away from the sides of the bowl.
- Pour into your prepared pan, using a spatula to scrape the bowl well and smooth out the top of the marshmallows.
- In a small bowl, sift together the 1/3 c cocoa powder and 1/3 c powdered sugar, then stir it until it's fully combined. Then use your sifter to dust the top of the marshmallows. Cover lightly with aluminum foil and let sit at room temperature overnight (or about 8 hours).1/3 c Dutch cocoa powder, 1/3 c powdered sugar
- The next morning, turn the marshmallows out of the pan onto a cutting board. If the edges of your pan are rounded, and you want straight sides on your marshmallows, cut the edges off of the marshmallow slab first (a snack for the chef!).Then cut evenly into 16 marshmallows (or more if you want smaller 'mallows). Tip: lightly grease the knife with some neutral oil beforehand and in between cuts to keep it from sticking too much.Toss marshmallows in the cocoa powder-powdered sugar mixture.
- Store marshmallows in an airtight container at room temperature. Stored like this, the marshmallows can last for at least 3 weeks (although I've actually eaten them 6 weeks later and they're still great!).
Notes
Did You Make This Recipe? Leave a Review!
If you made this recipe and loved it (or didn’t love it), please consider leaving a review and a comment below! Reviews help these recipes show up more prominently in online searches, and feedback in the comments (good or bad…but please be kind:)) helps me know what turns out well for you and what could use some work.
Thanks for being here and baking my recipes!


3 Comments
Pingback:
DARCI BANDI
Young and old love the marshmallows. Most are eating them “plain”! Just made the cinnamon ones too. Can’t wait to try those. Thanks for great recipes.
Jamie
I’m so happy you’re loving the marshmallows!! Eating them plain is my favorite way to enjoy them, too!