
Kimchi
File this under “foods I eat when I’ve had too much sugar”. Or “foods I eat all the time because they’re delicious”. Both work. Kimchi has become one of my favorite foods over the past few years – so much so that I had to start making my own because my kimchi habit was costing me a fortune! It’s a good thing I did, because now I get to enjoy both the eating of kimchi and the process of making it. Win-win.
Kimchi Background and Resources
Kimchi, if you’re not familiar with it, is a spicy fermented cabbage, most often used as a side dish or condiment. If you’ve had sauerkraut, this is a similar concept, though spicier (and more delicious, in my opinion, though sauerkraut is quite tasty too). Kimchi is a staple food in Korea, and dates as far back as 37BC! It is traditionally made in the winter, then stored in ceramic pots buried in the ground. Check out the Wikipedia article here for more history and fun facts (and if anyone knows of a great book on the history of kimchi, please let me know – I’m completely fascinated).
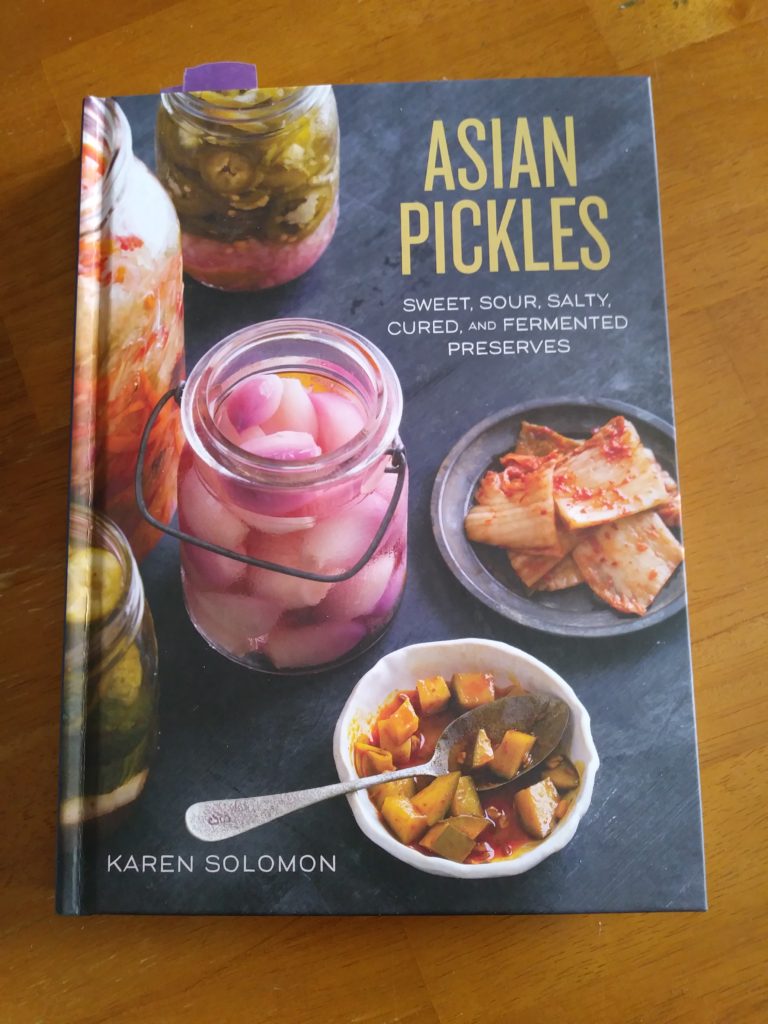
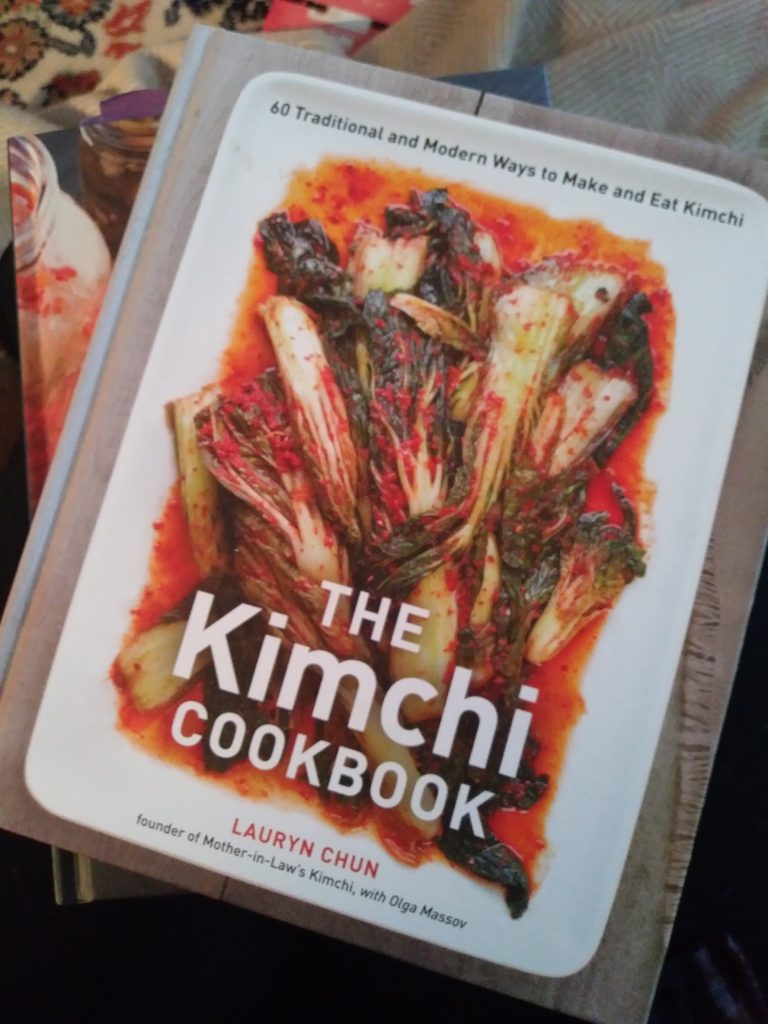
Here are a couple of great kimchi-related cookbooks I’ve come across as well. Both are good resources for getting starting on your kimchi journey. The first, Asian Pickles, has the first recipe that I used. I’ve since tweaked, adapted, and added to it, but it’s a solid recipe to start with. The second, The Kimchi Cookbook, has several different types of kimchi recipes – great for once you’re ready to branch out.
Nutrition and Ingredients
Kimchi is full of health benefits. It is high in fiber and iron, as well as vitamins A, B1, B2, and C. As a fermented food, it’s a great source of probiotics – so good for gut health! It’s also a low-cal way to add a punch of flavor to your favorite foods – stir fry, eggs, tacos, sandwiches, soups and stews – basically anything you want to add it to, you can.
Kimchi is more of a technique than an exact recipe. There are countless ways to make it, and an endless array of ingredient options. Basic kimchi consists of Napa cabbage and a spicy chili paste that you mix with it. From there, you can add just about any vegetable you like. Some of my favorites are bok choy, carrots, and green onions. Radishes (daikon or other types), bell peppers, and other kinds of cabbage are great additions as well. Basically you can add any crunchy veg to it (I’d stay away from veggies with high water content like zucchini).
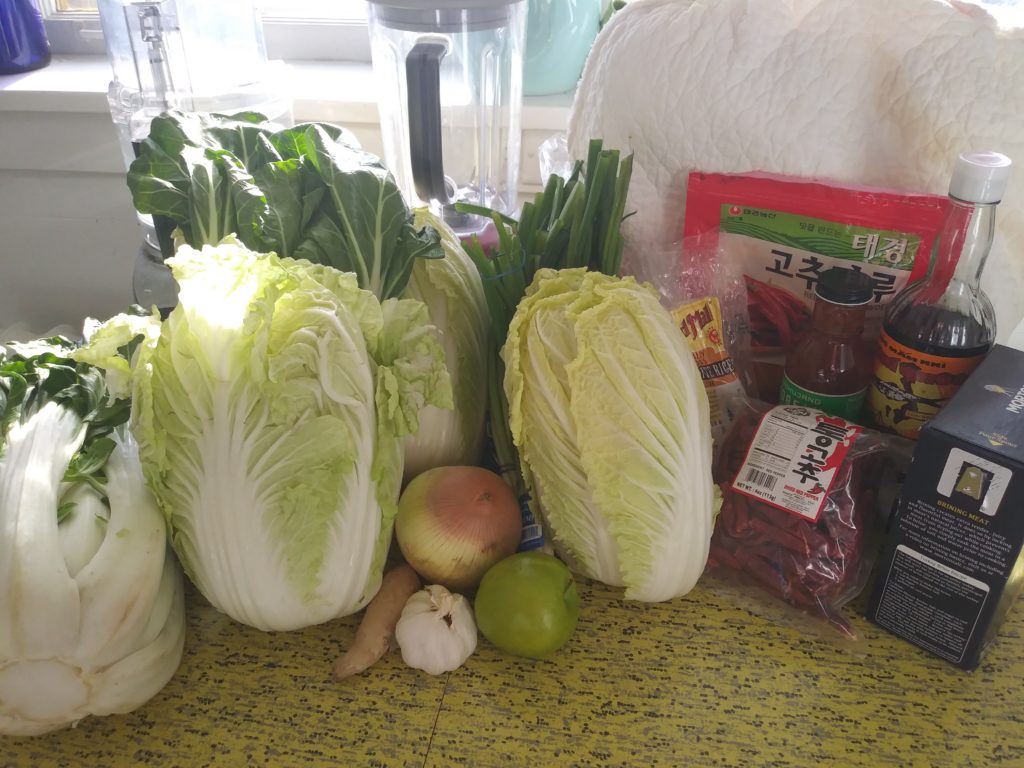
For the chili paste, there are a few unique ingredients you will definitely want to have. You’ll need gochugaru chili flakes, gochujang sauce, and sweet rice flour. If you’re lucky enough to have an Asian grocery store near you, you’ll be able to find these ingredients there. Since I live in the frozen tundra of Northern Minnesota, I typically have to order mine online. I’ve used two different brands of gochugaru: this one and this one. Both are good, but note that the second one is a 2lb package – might be overkill if you’re just starting out. This is my favorite brand of gochujang (I like that it doesn’t contain MSG or high fructose corn syrup, plus it’s just really tasty). I’ve been using Bob’s Red Mill’s sweet rice flour.


Supplies For Making Kimchi
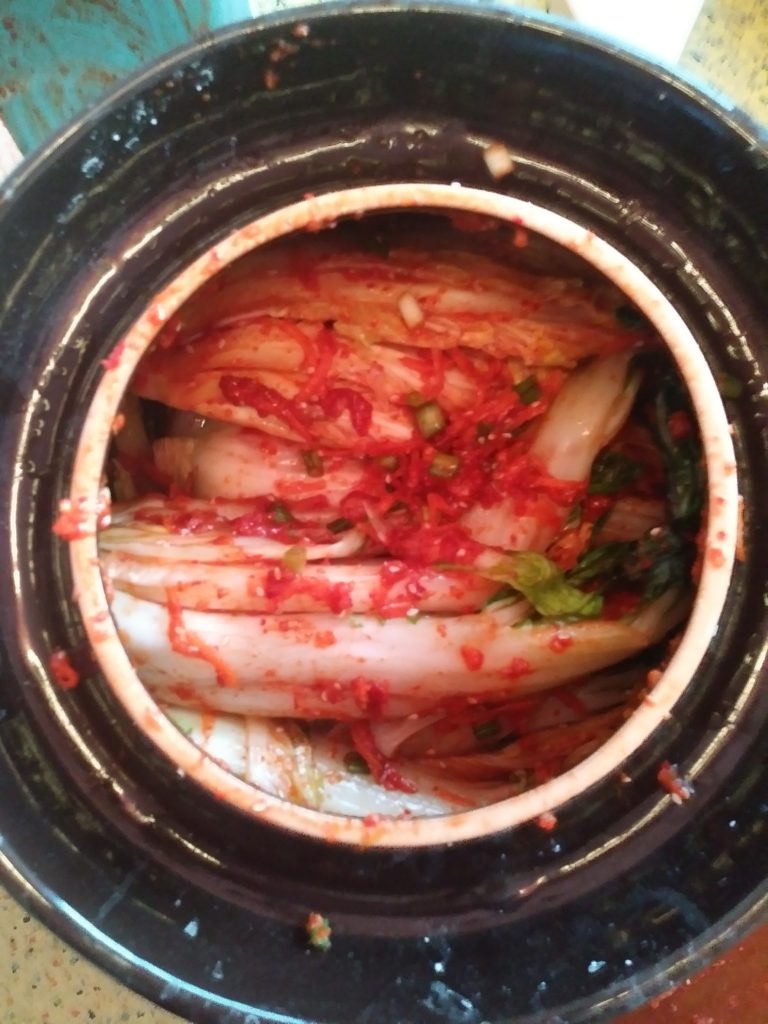
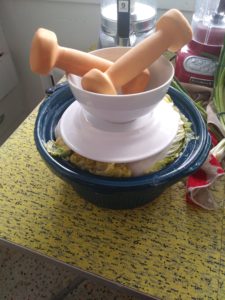
Now let’s talk equipment. Kimchi is one of the easiest foods to ferment, and you don’t actually need any special equipment to make it. This recipe uses the full-leaf method of making kimchi (which means you leave the cabbage leaves intact while it ferments), so I ferment it all in one big container, then cut it up and pack it in jars after fermentation. I use this fermenting crock, and I love it, but you can improvise with items you already have in your kitchen. Before I bought my crock, I fermented my kimchi in the ceramic insert for my crock pot. As you can see below, I still use it for part of the process. Any large ceramic or glass container will work, as long as you can fit a cutting board or plate inside the top to weigh down the kimchi.
Another option is to cut the cabbage up before fermentation, mix it with the sauce, and pack it tightly into jars to ferment. If you do that, you’ll want something like these jar weights to weigh down the kimchi (this helps keep it submerged in the brine to prevent mold).

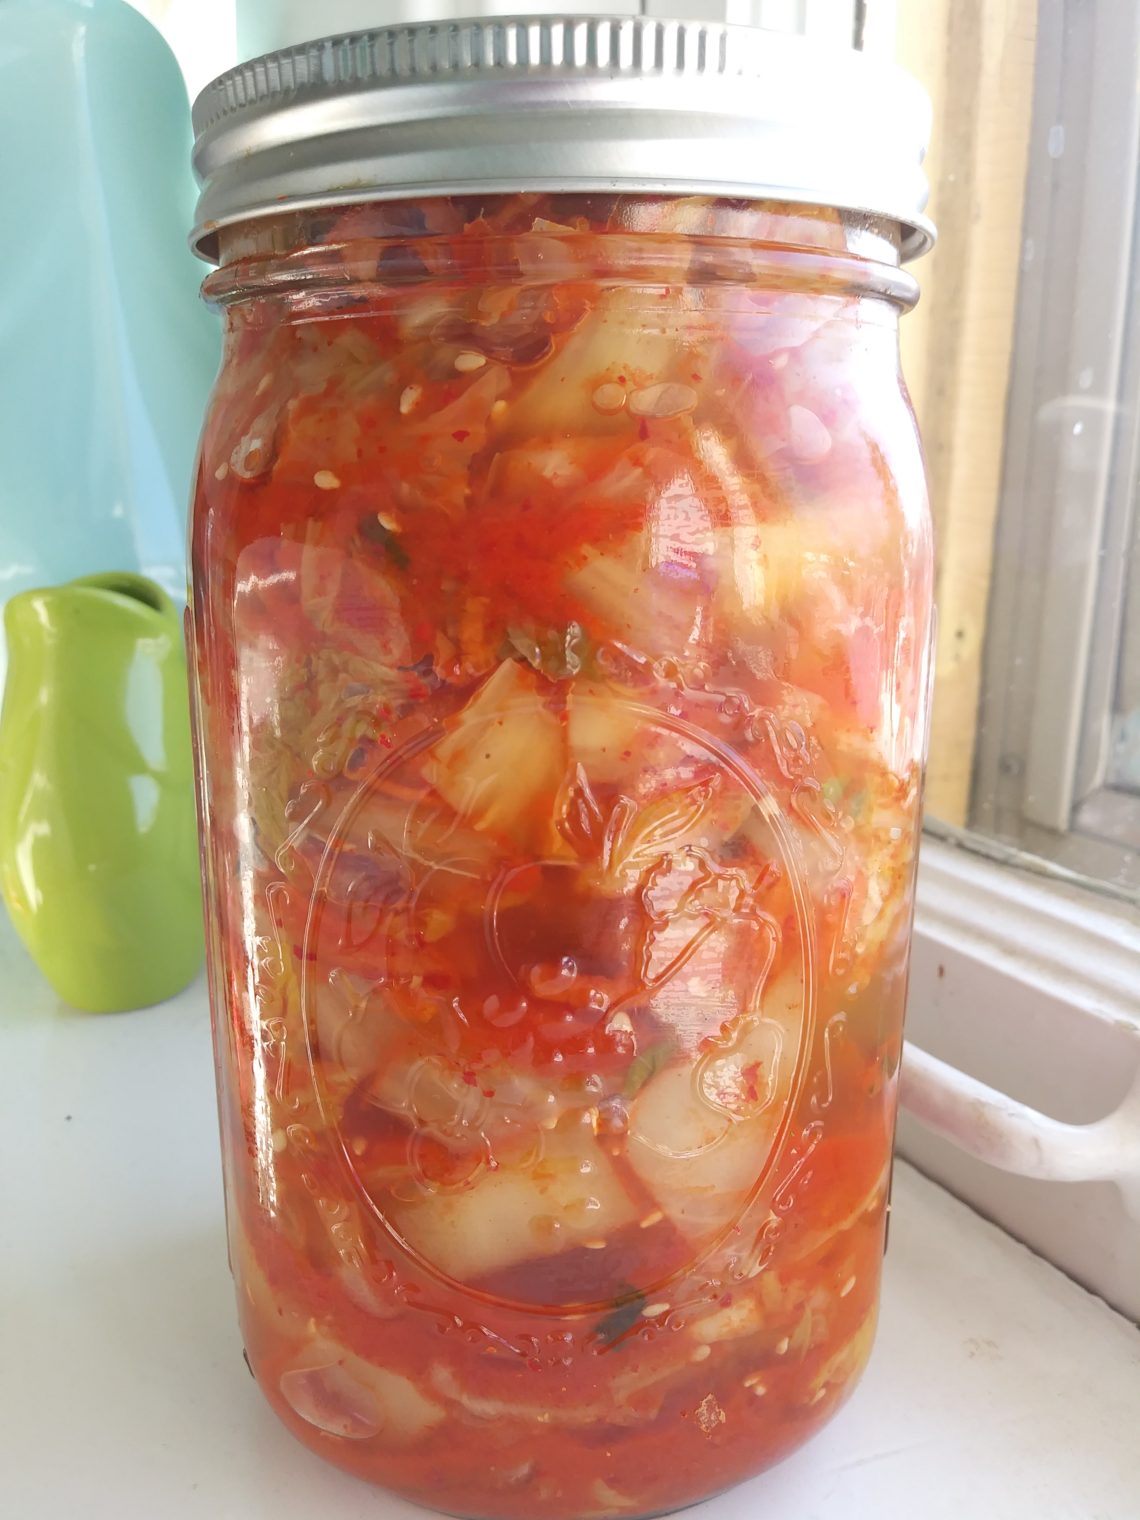
For storage after fermenting, I simply use canning jars, though any container will work. Note: you DON’T want to seal your kimchi jars tightly like you would other canned items – as a fermented food it has active bacteria that are continually letting off gasses, so sealing your jars too tightly could cause an explosion! And since your jars won’t be sealed, you’ll need to keep your kimchi refrigerated once it’s fermented.
Make it fun!
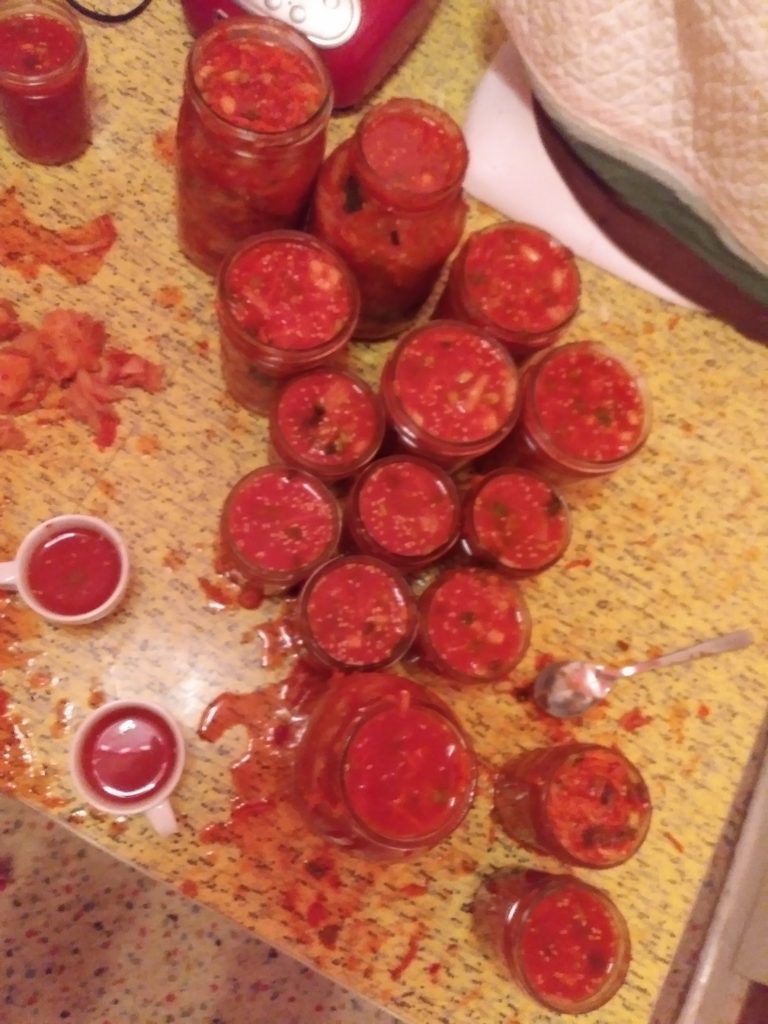
Okay, I know this all sounds like a lot, but kimchi is really not complicated to make. If it sounds intimidating, consider making it with a friend or two to lighten the load. This recipe makes a LOT of kimchi – about 10-14 pints, depending on how many extra veggies you add – so it’s a great one to make communally then split up the batch. Plus it’s just way more fun to make with friends. Make a day of it and enjoy good company and a snack or two while you cook. My kimchi partner in crime and I have a tradition of enjoying an espresso break while we wait for the salted cabbage to rest (a great excuse for coffee and treats!). Feel free to do the same.
So, grab your ingredients, supplies, and a friend, and start making your own kimchi. You’ll be so glad you did!
Kimchi
Ingredients
- 4 heads Napa cabbage (about 5 lbs)
- 2 heads bok choy optional
- 3/4-1 c Kosher salt
- 1 1/2 c water
- 3 T sweet rice flour
- 1-1 1/2 c gochugaru (Korean chili flakes)
- 1/4 c gochujang (Korean hot sauce)
- 2 T sugar
- 1 head garlic cloves separated and peeled
- 1-2″ piece fresh ginger unpeeled
- 1 small jalapeno or other hot pepper seeds removed if desired
- 1/4 c fish sauce
- Optional additions – see Recipe Notes
Instructions
Prepare the Cabbage (and Bok Choy, if using):
- Remove any droopy outer leaves of cabbage.
- Cut each head of cabbage in half lengthwise. Just cut through the stem end with the knife, then use your hands to tear the cabbage apart the rest of the way. Cut each half in half again in the same way. Cut the Bok Choy in the same manner.
- With one section of cabbage at a time, lightly sprinkle the salt between the leaves, concentrating more salt on the stem end.
- Place cabbage sections cut side up in a couple of casserole dishes or a fermenting crock. Pack them in as tightly as possible. Do the same with the Bok Choy, if using.
- Cover with a cutting board or plate (this helps to spread out the weight evenly) and about 5 lbs worth of weight – or, if using a fermenting crock, just use the weights that came with the crock(no need to use a board). Allow to rest for at least an hour, flipping the cabbage over after 30 minutes and replacing the weight.

- Meanwhile, prepare any optional additional veggies (shredded carrots or daikon, green onions, etc). Place in a large bowl and set aside.
Next, make the sauce:
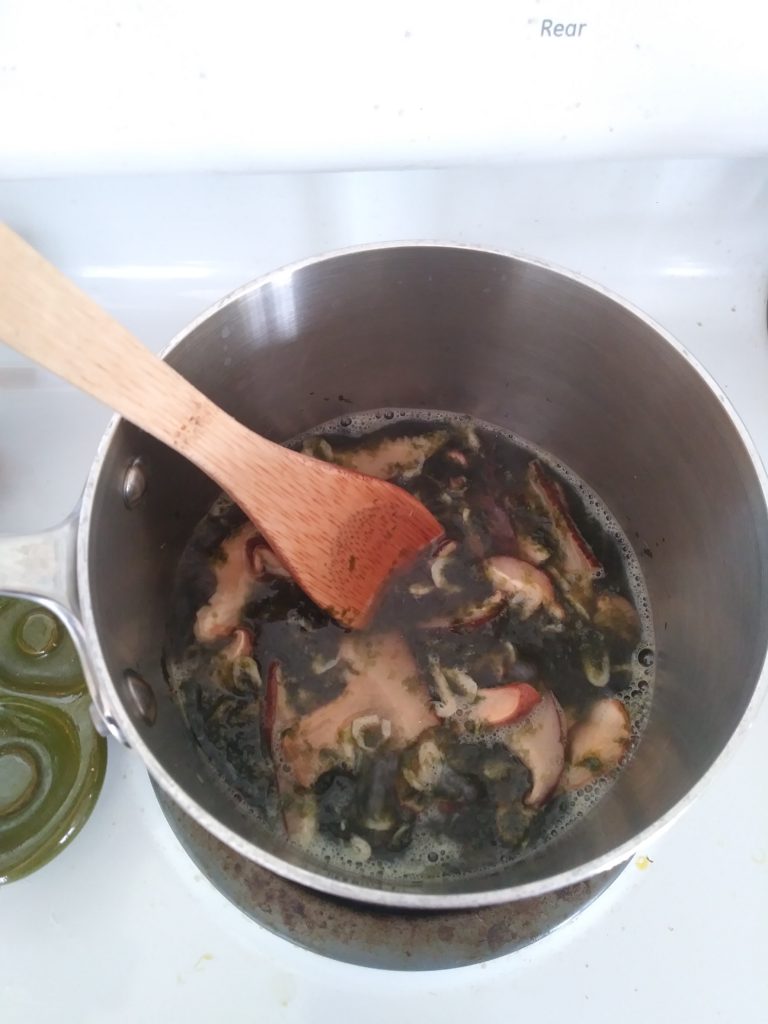
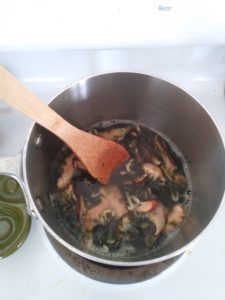
- In a small saucepan over medium heat, bring the water to a boil. If you are going to add any of the optional additions (see recipe notes), add them to the water right away, and allow the mixture to simmer for about 30 minutes before removing the extra ingredients and continuing to the next step. If the water boils down a lot, you can add more water as needed – you want to have about 1 1/2 c of liquid.
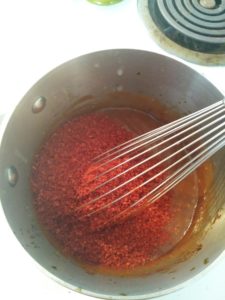
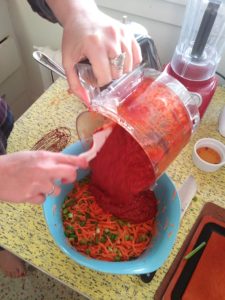
- Once water is boiling, add in the sweet rice flour and the sugar, and whisk constantly until mixture thickens (about 1-2 minutes). Remove from heat and whisk in chili flakes and gochujang. Set aside and allow to cool a bit.
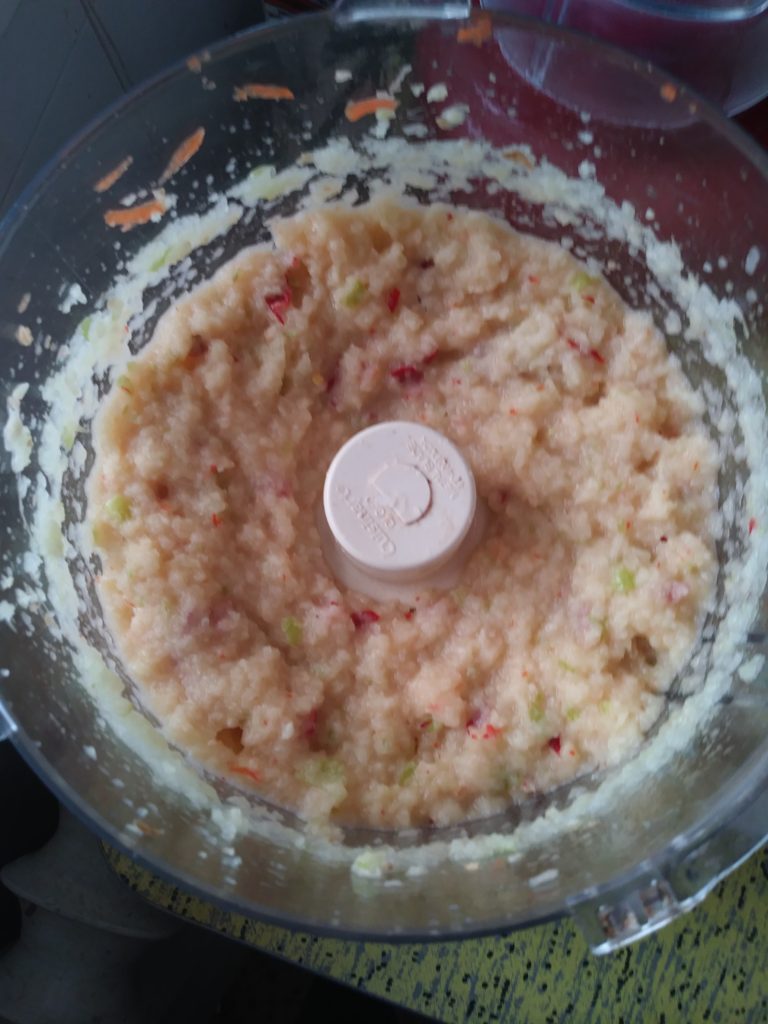
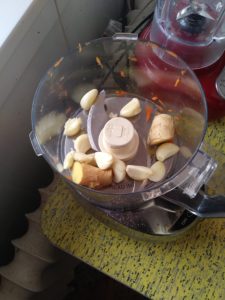
- Next, in a food processor, process the peeled garlic cloves, unpeeled ginger, and jalapeno/other pepper, if using.
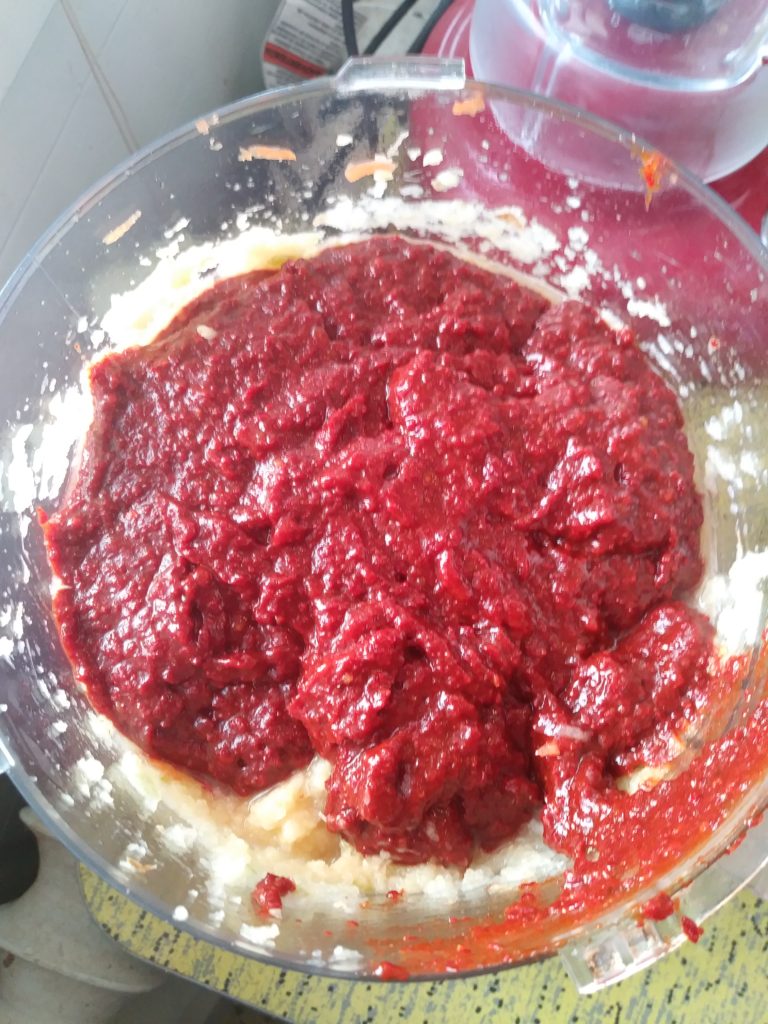
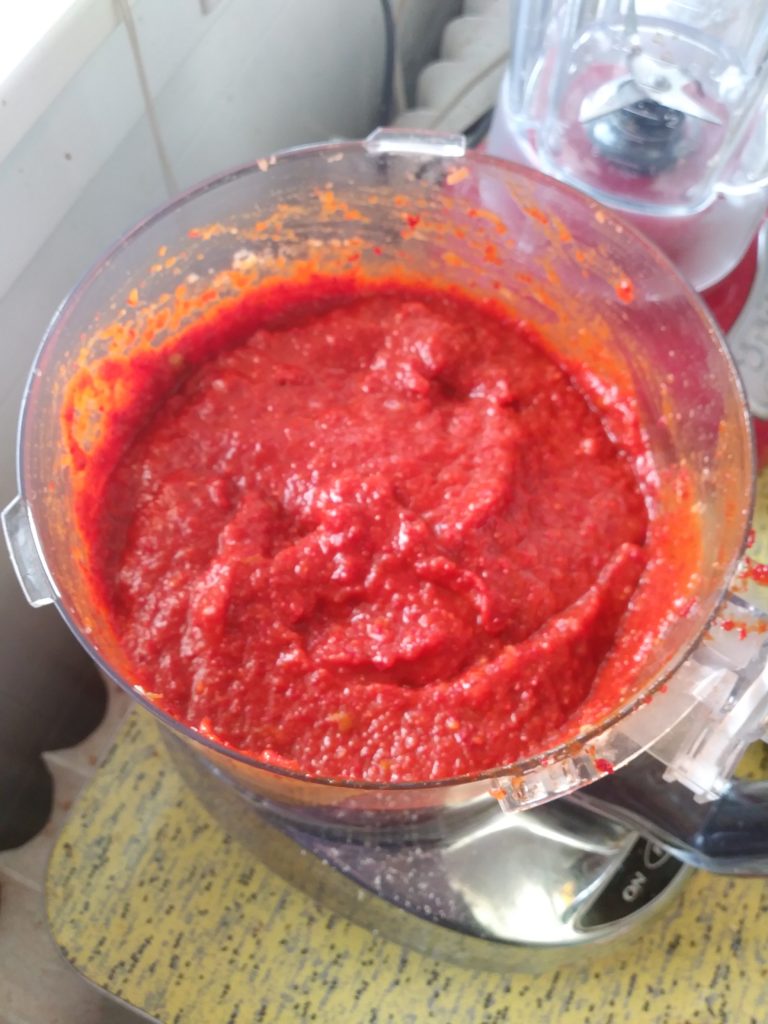
- Add rice flour mixture to the garlic/ginger mixture in the food processor, and process until smooth. Add fish sauce and process until well mixed. Pour the sauce into the bowl with your other veggies (if using) and mix well.
Put it all together:
- Remove cabbage and bok choy from the crock/casserole dishes and discard any water they’ve left behind. Rinse crock/dishes.
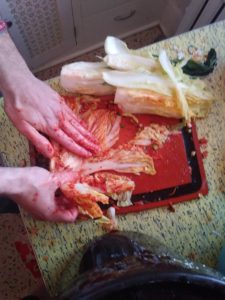
- Then, working with one section of cabbage at a time, smear the sauce between the leaves, concentrating it on the stem end and working your way toward the leaves. You’ll use approximately 1 -1 1/2 tsp of sauce between each leaf. It’s ok if the leaves aren’t fully covered with the sauce at this point.
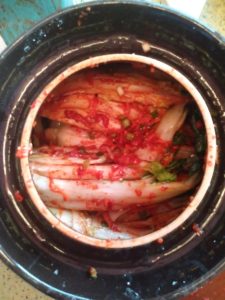
- Place each section back into the crock or casserole dishes, packing them in tightly. If there’s any sauce left over at the end, pour it over the top of the cabbage and work it in with your hands.
- Place weights on top as before, and cover. If you’re using a fermenting crock, just use the weights and lid it came with. If you’re using other dishes, first cover the kimchi with parchment paper or plastic wrap, then place your board and weights on top, and cover with a kitchen towel.
- Allow to sit at room temperature for about 4-6 days.
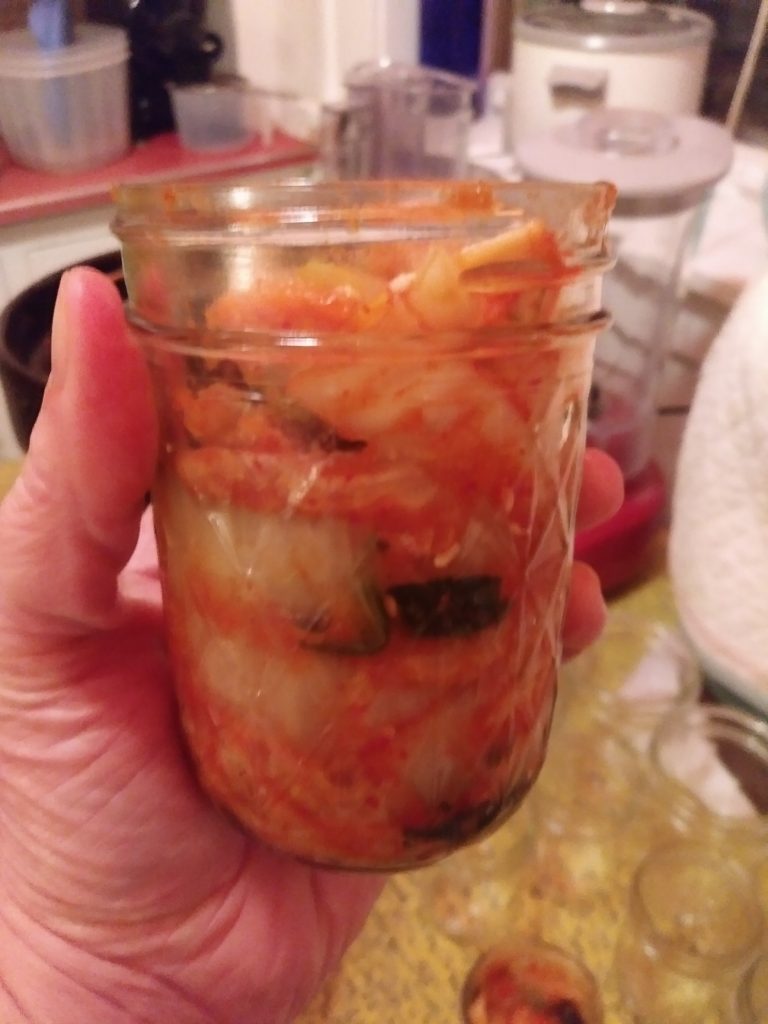
Cut up and pack the Kimchi in jars:
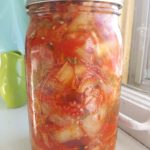
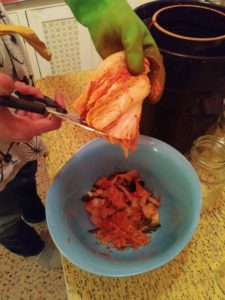
- After 4-6 days, remove kimchi one section at a time, cut it up (I use kitchen shears, but a knife and cutting board will work too), and stuff it tightly into jars. Top off jars with any extra juices and cover with lids. Refrigerate.
- Kimchi will be good fresh for about 6 weeks, and cooked for another 6 weeks (though I’ve eaten it fresh well beyond the 6 weeks and it was still great).
Notes
- Shredded carrots or Daikon radish (I generally use about 3-4 large carrots, or about 2-3 cups).
- Green onions, cut into medium-sized pieces (I use about 3-4 bunches – I LOVE green onions). Use both the green and white parts.
- Sesame seeds, toasted or not.
- You could try adding various kinds of peppers (sweet or hot), additional cabbage (red cabbage maybe?), parsnips, or any other veggie you think sounds great. I’d stay away from any veggie that has a lot of water in it though (zucchini, for instance).
- Dried seaweed (I use 1 sheet, ripped into pieces)
- Dried shrimp
- Chicken bouillon/stock base
- Dried Shiitake or other mushrooms
- Anything else you think will enhance the flavor!


One Comment
Pingback: