Brûléed Maple Latte Cheesecake Pie
As I mentioned in my last post, I’m currently taking an online Creative Baking class through monthly.com. It’s taught by Christina Tosi of Milk Bar, and it’s been so much fun! In the class, we’re baking a few Milk Bar classics, then creating our own bakes with the skills we learn. Our first week was cookies (check out my Popcorn & Hot Chocolate Cookies here!), and the second was pie. Thus, my new favorite pie was born — Brûléed Maple Latte Cheesecake Pie!
During cookie week, we had to come up with a cookie that reflected a certain time (a time in our lives, a time of year, a time of day, etc). For pie week, our assignment was to create a pie that reflects a place. It could be a favorite vacation spot, your Grandma’s house, that reading nook in your home that you love…any place that sparks a food memory.
I chose summer drives on the north shore of Lake Superior.
I love driving up the shore any time of year, but summer on the north shore can’t be beat. Seriously, just look at this:
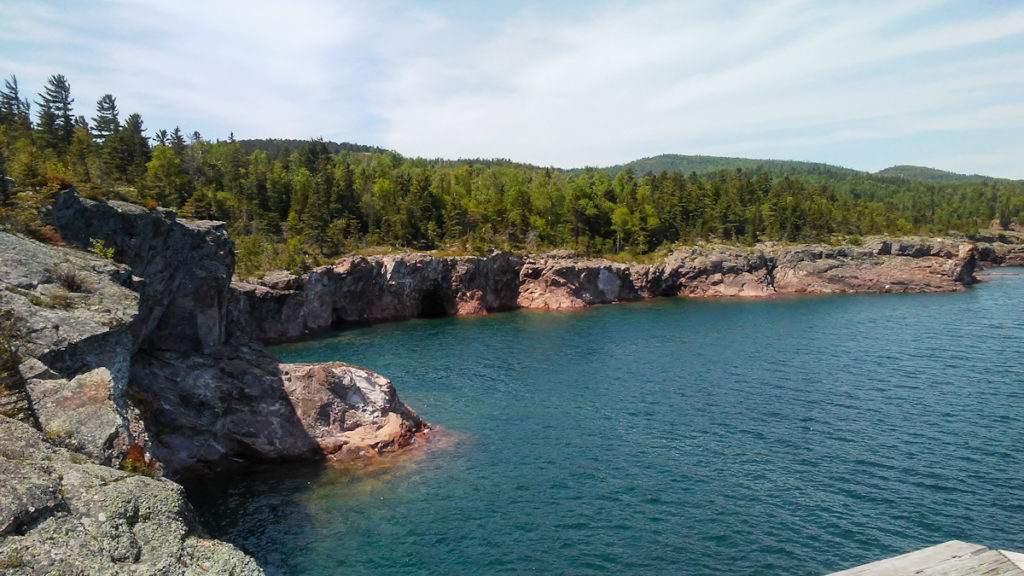
Gorgeous, right?
Lattes and Crème Brûlée
Those drives aren’t only full of amazing scenery—there’s also a lot of great food to be found along the way. There are so many fantastic spots to eat, but two jumped out at me as I was thinking of ideas for this pie—the Java Moose in Grand Marais (coffee is the most important part of a road trip, after all) and the New Scenic Café just north of Duluth.
One of the Java Moose’s signature coffee drinks is their Maple Latte. It’s the perfect blend of sweet creamy goodness and espresso—a must on any trip north. And the New Scenic has, hands down, the best crème brûlée I’ve ever had.
So when it came to creating a pie, I decided I had to combine these two tasty treats into one show-stopping dessert.
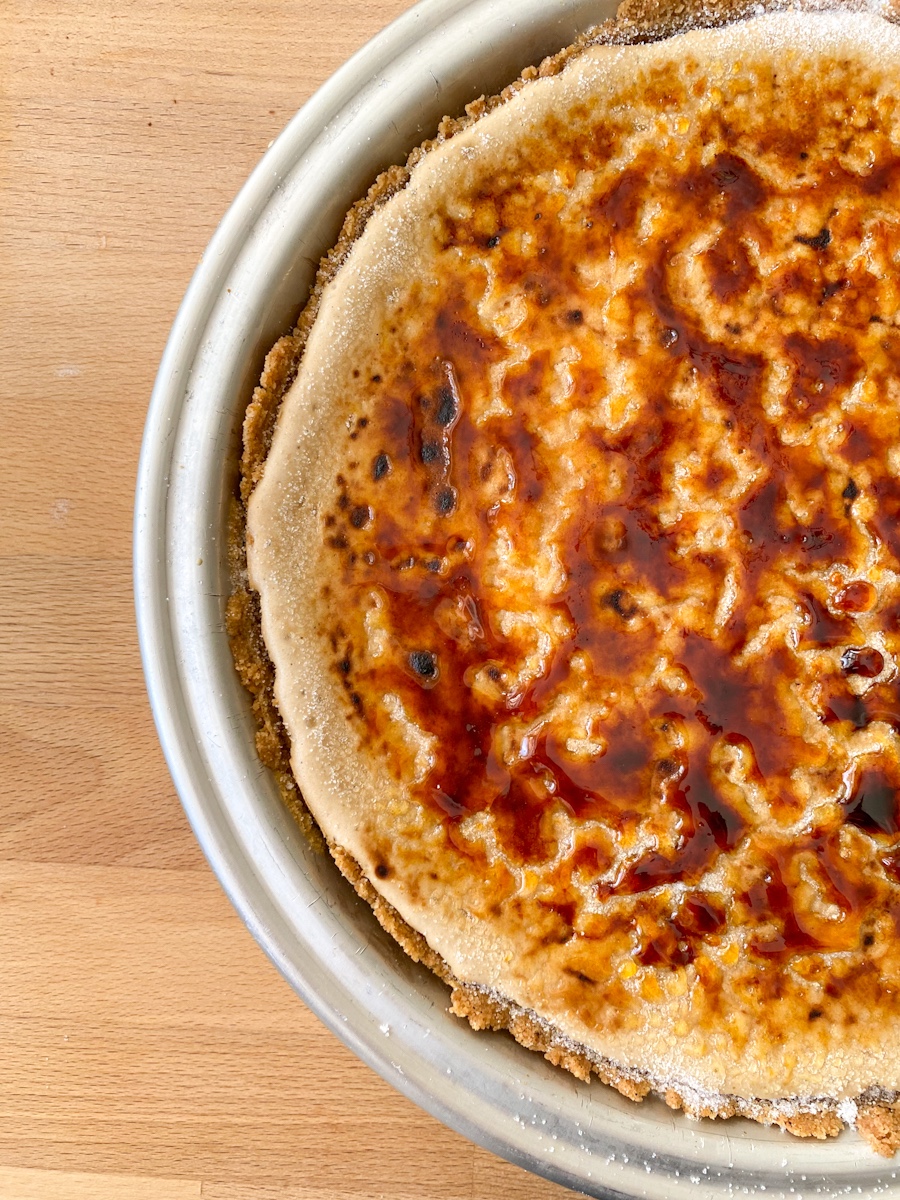
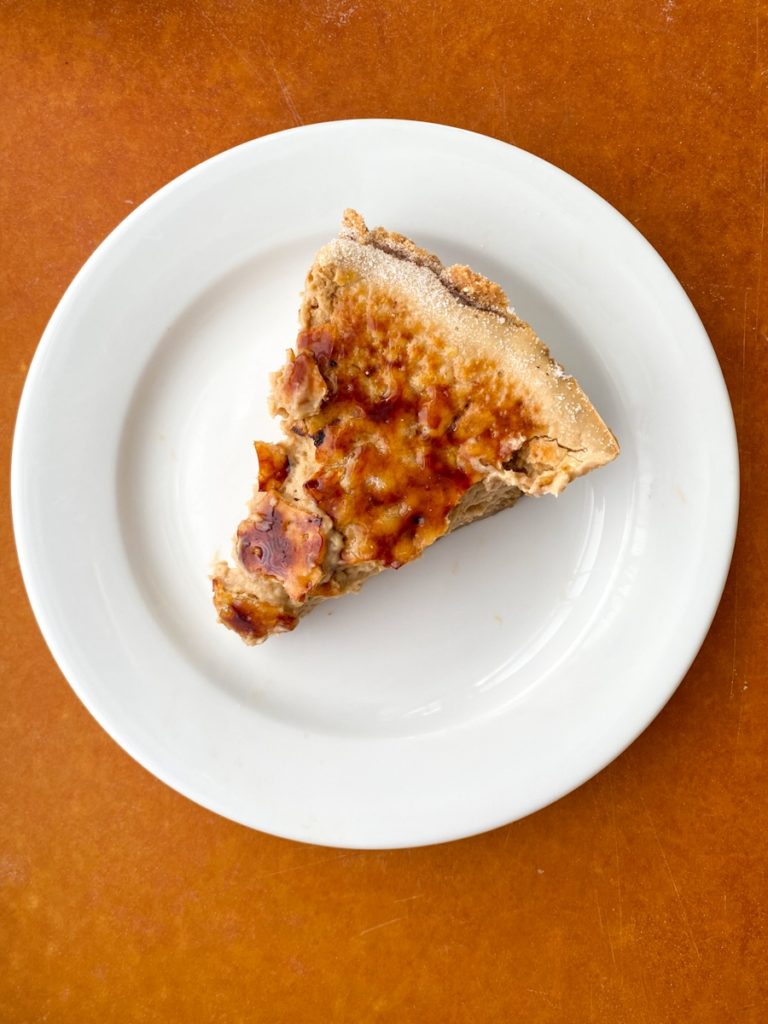
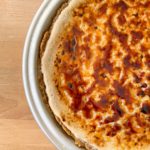
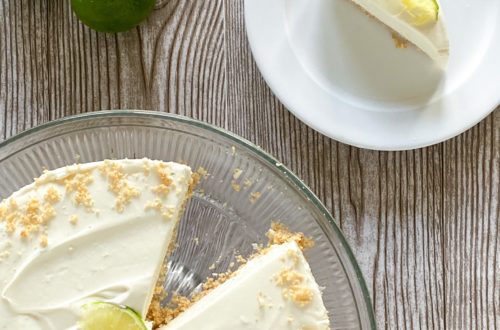
Brûléed Maple Latte Cheesecake Pie
This pie has the creamiest, dreamiest cheesecake filling flavored with pure maple syrup and espresso. It’s baked in a Nilla wafer cookie crust for an extra punch of creamy vanilla flavor that helps bring out the maple even more.
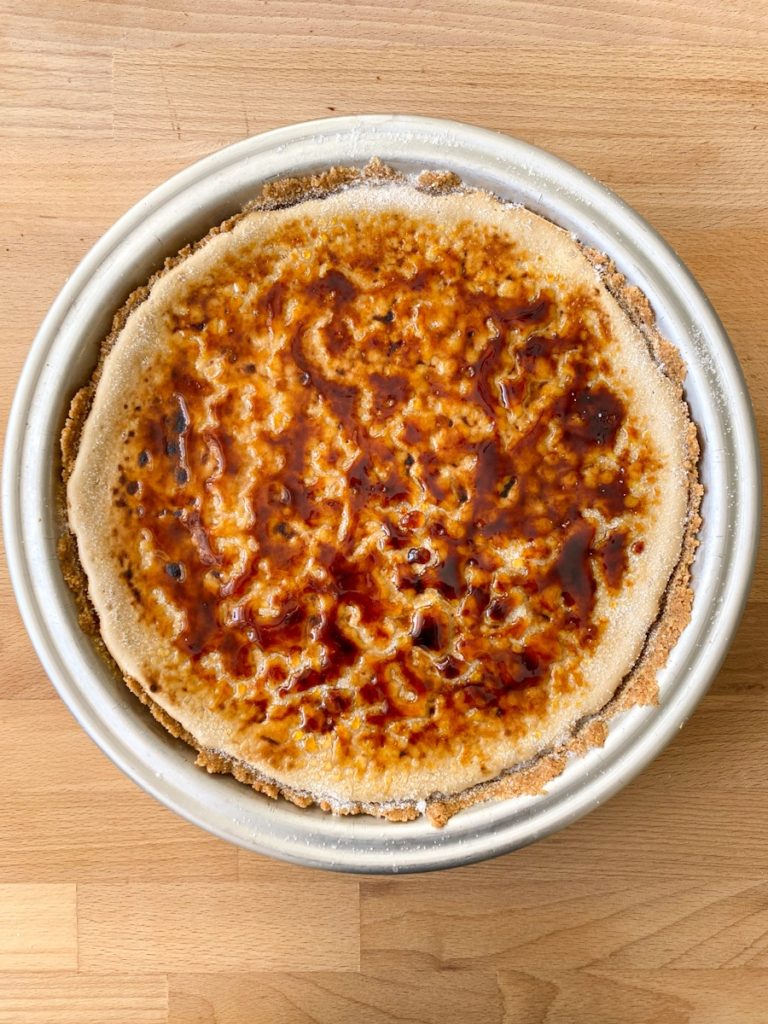
Then, to really take it up a notch, I sprinkled sugar on the top and torched it for that crisp, caramelized sugar crust that crème brûlée is known for.
The idea for this pie was inspired by a recipe in Sarah Kieffer’s 100 Cookies Cookbook. I bought it recently, and was paging through it while pondering what kind of pie I should make.
As I turned the pages I came across her Crème Brûlée Cheesecake Bars recipe and just about fell off my chair. That cheesecake-crème brûlée hybrid just had to be the base for my pie.
So I bought a culinary torch, adapted Sarah’s filling recipe a bit, added a Nilla wafer crust, and the rest is history.
A Few Tips:
- I used a food processor to grind up the Nilla wafers, but if you don’t have one, you can put them in a Ziploc bag and use a rolling pin to crush them. (Also a good way to work off some stress – ha:)) They won’t be as finely crushed as they are with a food processor, but it should work just fine.
- Make sure to use real maple syrup for this recipe. It should be 100% pure maple syrup. Save the Mrs. Butterworth’s for your pancakes.
- Maple extract helps amp up the maple flavor even further without adding too much liquid. Pure maple extract is best, but imitation will work too.
- This recipe is for a 10-inch pie pan, but if you don’t have one, a 9-inch should work. You may have a bit of filling that doesn’t fit into the pan though. If that happens, break out the muffin tin and paper liners and make a couple of mini cheesecakes. (I’d guess they’ll bake up in about 15-20 minutes, but keep an eye on them.)
- It’s CRUCIAL to bring your cream cheese, sour cream, and eggs to room temperature before you start mixing. This will prevent clumps in your mixture. Tip: if your cream cheese is too cold, pop it (still wrapped) into a container of just-warm water to speed up the softening.
- Don’t have a culinary torch? Check out the instructions in this recipe for using your broiler (jump to step 5). Disclaimer: I haven’t tried this method, but it should work. Just keep a close eye on it to make sure the sugar doesn’t burn.
I hope you enjoy this pie as much as I enjoyed creating it! I have to say, I think this is the best recipe I’ve created yet. Sure am glad I decided to take that online baking class!
If you make this pie (or any of my recipes), make sure to tag me in your photos on Instagram (@northern.ginger)! If you like it, consider rating the recipe and/or leaving a comment below.
Happy Baking!
Brȗléed Maple Latte Cheesecake Pie
Equipment
- 10-in pie pan
- Culinary torch
- instant-read thermometer
Ingredients
Crust:
- 2 ¼ c Nilla wafer crumbs*
- 3 T brown sugar
- 9 T butter melted
Filling:
- 16 oz cream cheese room temperature
- ½ c pure maple syrup**
- ½ c brown sugar
- ½ c sour cream room temperature
- 1 tsp espresso powder
- 1 tsp vanilla bean paste
- 1 tsp maple extract
- pinch salt
- 2 tsp butter melted
- 2 eggs room temperature
- ⅓ c granulated sugar to brȗlée the top
Instructions
Crust:
- Preheat oven to 325°F.
- Mix together the Nilla wafer crumbs, brown sugar, and melted butter until well-combined.
- Press the mixture into the bottom and up the sides of a 10-in pie pan, and bake for 10 minutes. Set aside to cool.
Filling:
- In the bowl of a stand mixer fitted with a paddle attachment, beat the cream cheese on medium speed, about 4-5 minutes, stopping periodically to scrape down the bowl. Cream cheese should be silky and completely smooth.
- Add maple syrup and brown sugar and beat on medium speed until well-combined, about 2-3 minutes, stopping to scrape down the bowl once or twice to make sure everything is combined and smooth.
- Add the sour cream, espresso powder, vanilla bean paste, maple extract, salt, and butter. Beat on medium speed for another 2-3 minutes.
- Add the eggs one at a time, beating on low speed after each addition just until combined. Scrape down the bowl, and give the batter a quick mix to make sure everything is well-incorporated.
- Pour the filling into the crust, spreading it evenly throughout the pan. Bang the pan on the counter a few times to release air bubbles.
Bake
- Bake for about 30-35 minutes, or until the center registers 150°F on an instant-read thermometer. The top will look dry, but the center will still be jiggly.
- Turn off the oven, prop the door open with a wooden spoon, and let it sit in the cooling oven for 30 minutes.
- Take the pie out of the oven and let cool on a wire rack until completely cooled.
- Cover the top with a piece of parchment paper to help keep condensation off of the pie, then move to the fridge and chill for 6 hours or overnight.
- When you’re ready to serve the pie, sprinkle the ⅓ c granulated sugar evenly over the top. Using a culinary torch, caramelize the sugar, starting at the outer edge and moving toward the center. Be careful to keep the torch moving to prevent burning. Once finished, you should have a thin, firm crust of caramelized sugar covering the top of the pie.
- Cut into slices and serve! When you cut into the pie, the sugar crust will break, so if you want you can caramelize one slice at a time for a cleaner look.
- The caramelized sugar topping is best the day it’s made, but the pie will last in the fridge for 3-4 days.
Notes
Join my email list!
Get notified about new blog posts and receive periodic newsletters (coming later in 2021) and other updates. As a bonus, you’ll also get my FREE Chocolate Cookies & Bars eBook!


4 Comments
Pingback:
Pingback:
Mary Dragich
Hello Jamie!
It was fun to see you a couple of weeks back. Hope you’ve been out walking and have been staying warm.
Have you ever made a doll cake? A little girl’s birthday is coming up and I’d like to make one for her. My mom made them when we were little. She made an angel food cake and trimmed it. I’ve seen lots of different recipe and technique ideas. I wondered if you had done it and if you have any wisdom to share. Let me know, please.
Thanks!
Mary
Jamie
Hi Mary! Sadly, I’ve never made a doll cake before. That sounds like a fun project! I bet there are some good YouTube tutorials out there for that.
Good luck, and I hope you’re well!