
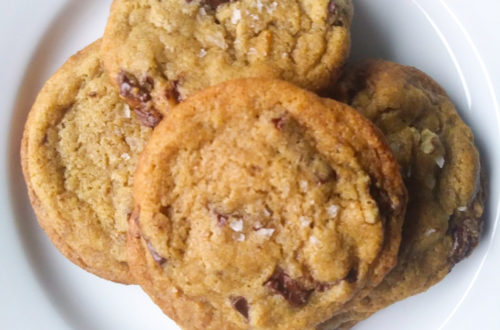
Milk Chocolate Toffee Cookies
Growing up, I loved a good Dairy Queen Blizzard. (TBH I still do, but now I opt for the “mini” size because I just can’t finish the large like I did when I was a kid). Anyhow, my favorite mix-in has always been Heath bar. For a while there, they had a Cappuccino Heath Blizzard that was TO DIE FOR. I loved it so much. Does anyone else remember that? And does anyone know if they’ll still make me one if I ask nicely?
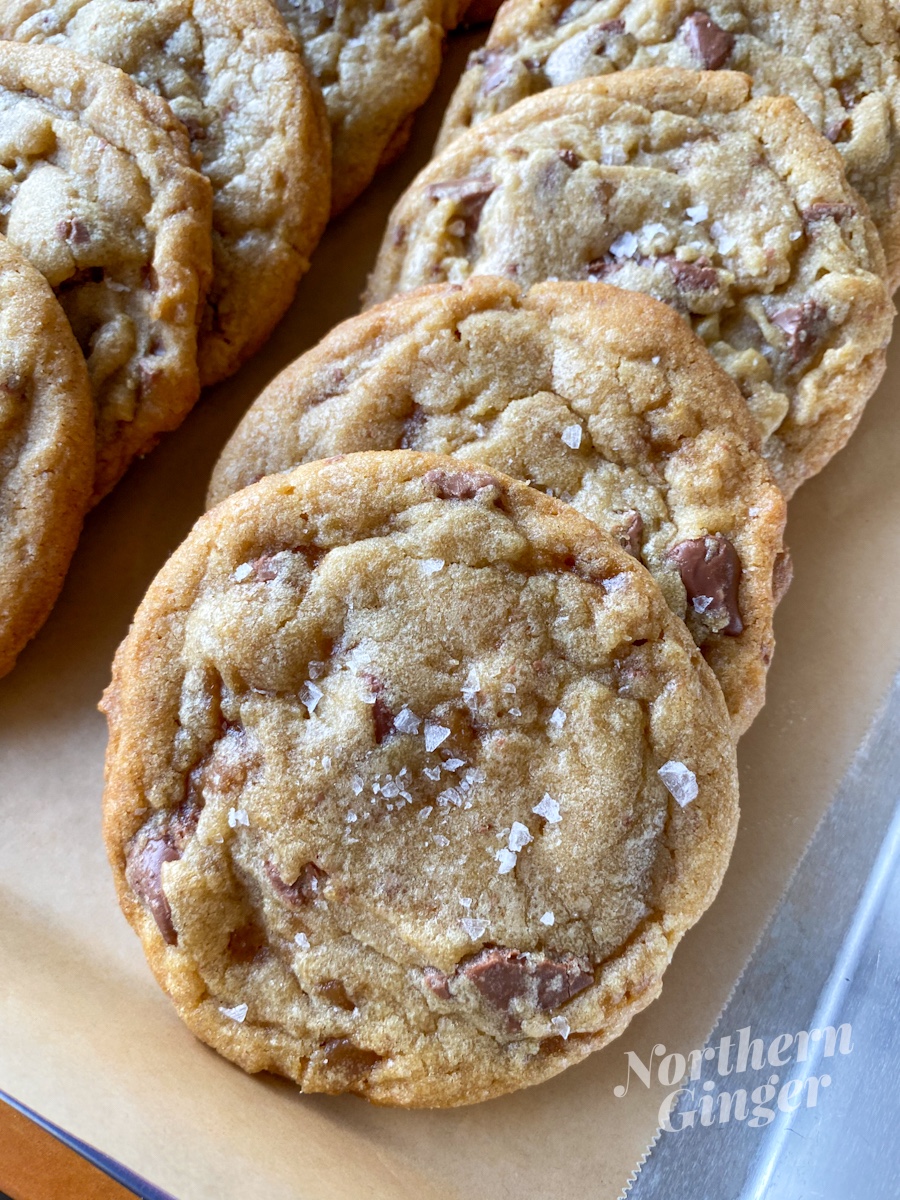
Well, the idea for these cookies sprang from my love for Heath bars. Milk chocolate and buttery toffee in a salted brown butter cookie…what could be better? These Milk Chocolate Toffee Cookies are especially delicious alongside a cup of steaming hot coffee. Very much Cappuccino Heath Blizzard vibes.
Milk Chocolate: Not Just For Easter Bunnies
Milk chocolate gets a bad rap, especially in the foodie world. It’s thought to have a less “refined” flavor, better suited to a kid’s Easter basket than a quality dessert. But really, milk chocolate just offers a different flavor profile than dark chocolate. It brings a sweet, creamy, soft flavor versus dark chocolate’s sharper punch. Milk chocolate has a lower melting point than dark or semisweet chocolate, so it melts quickly on your tongue, giving you a burst of flavor. Check out this great article on Serious Eats for more about milk chocolate.
When you choose your chocolate for baking, buy good quality chocolate that you like the flavor of—don’t just grab the bag of chips. This goes for any type of chocolate, not just milk chocolate. Chocolate chips have stabilizers added to them to make them hold their shape when baked.
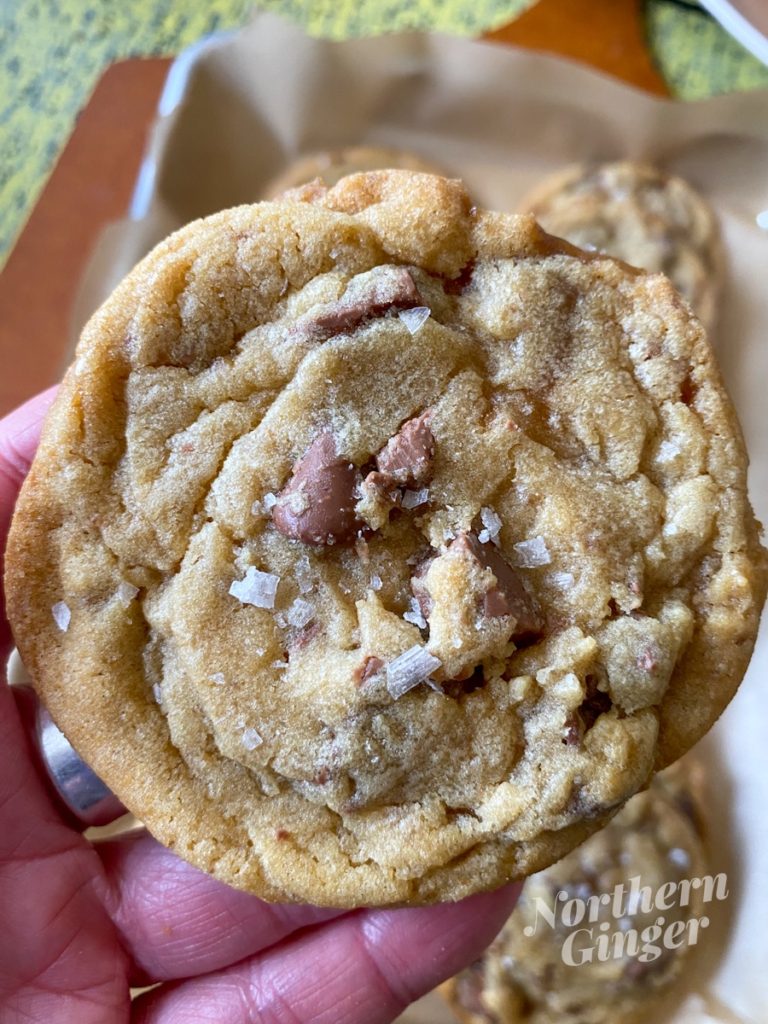
Chocolate bars or feves (like these from Valhrona), on the other hand, don’t have those stabilizers, so they melt more, giving you puddles of chocolate rather than chunks. Plus, when you chop up chocolate bars, you end up with a variety of shapes and sizes of chocolate, which makes for a more exciting cookie to bite into. (But if you really do want that bag of chips, go for these from Ghirardelli—they’re delicious).
Homemade Toffee Chips Are a Game-Changer
Milk chocolate can be a tad sweet for me, so I usually like it paired with something almost savory—like buttery, salty toffee. You can certainly buy a bag of toffee bits at the store if you want, but making your own isn’t difficult at all (though you will need either a candy or instant-read thermometer).
For this recipe I used Handle the Heat’s Homemade Toffee Bits recipe. It’s simple to make—you’re really just cooking butter, brown sugar, and salt together until it reaches around 300°F on a candy thermometer. Then you pour it onto a blob on a lined baking sheet, let it cool, and break it into bits. (That part’s a lot of fun). And voila, you have toffee bits for your cookies, bars, cakes, ice cream (homemade Blizzards here we come!), or however you want to use them.
Milk Chocolate Toffee Cookies: A Few Notes
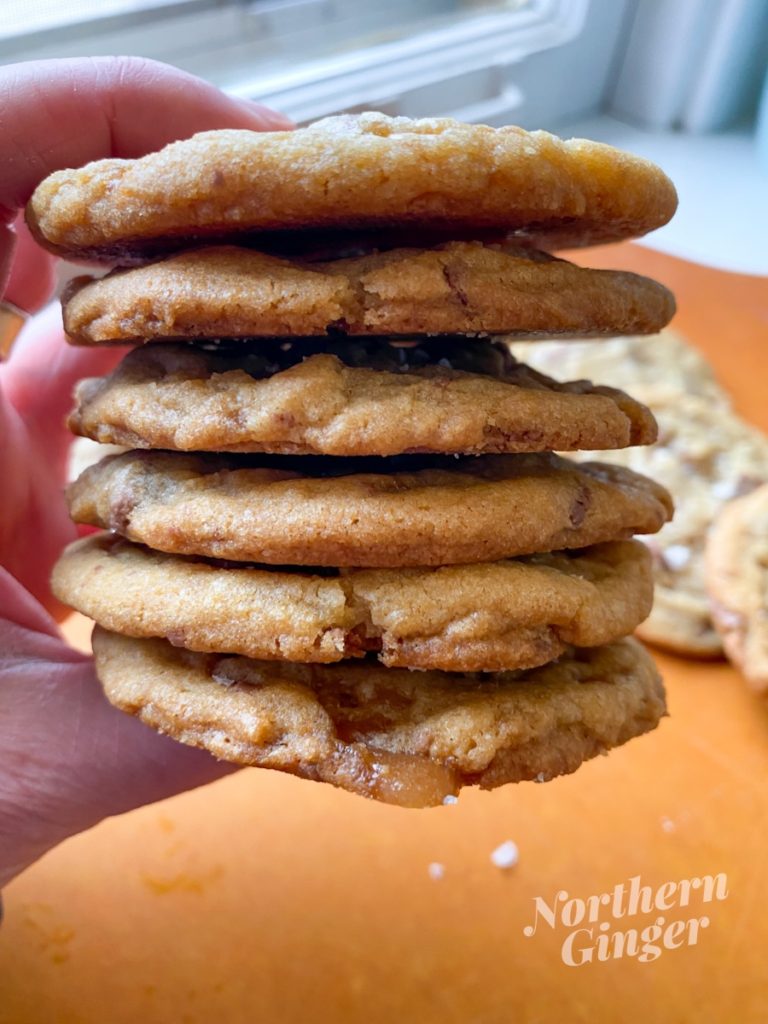
Yes, you really do need to chill the dough here. I know it’s a pain…but trust me, it’s worth it. Chilling the dough helps keep the cookies from spreading too much when they bake. But even better, it allows the flavors in the cookie to develop more. In the case of chocolate chip cookies like these, the caramelly flavors from the brown sugar really come out, giving you a much more complex (read: delicious) flavor. It turns a decent cookie into an out-of-this-world experience.
Heavy whipping cream. Feel free to use any liquid here. I opted for whipping cream because (aside from the fact I had it in the fridge) it seemed to make my cookie dough fluffier and lend a creaminess to the flavor that I really wanted. But if you don’t already have it on hand and don’t want to buy some just to use a tablespoon…I get it. You can sub whatever milk you have in the fridge.
Molasses. It’s used here not as a flavor backdrop like in molasses or gingerbread cookies, but as a flavor enhancer, like vanilla. The tiny bit of molasses in these cookies really enhances the caramelly flavors of the brown butter, brown sugar, and toffee bits. Yum.
Browning the butter. Such a game-changer. Seriously. If you haven’t browned your butter for your chocolate chip cookies yet…it’s time, my friend. Brown butter is like liquid gold, adding toasty, caramelized notes to everything it touches. See my post on brown butter for more details and a how-to.
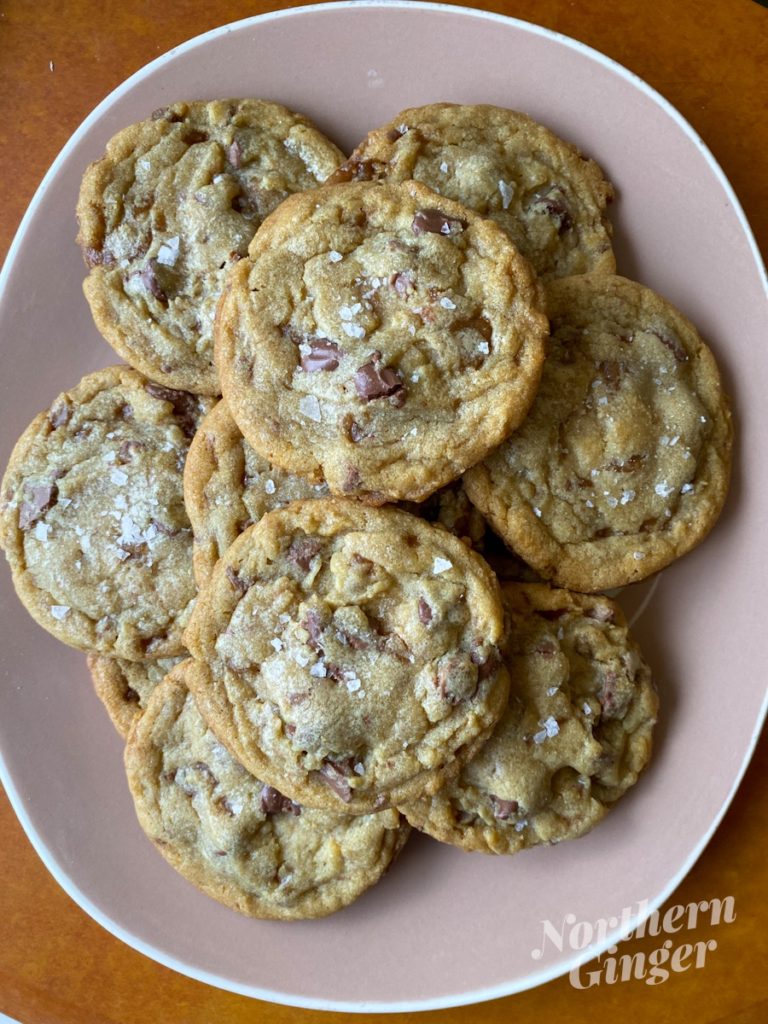
Whether you were a Cappuccino Heath Blizzard fan as a kid or not, if you like milk chocolate and toffee you’ll love these cookies. Give them a try, and tag me in your Milk Chocolate Toffee Cookie photos on Instagram, Twitter, or Facebook!
Join my email list!
Get notified about new blog posts and receive periodic newsletters (coming later in 2021) and other updates. As a bonus, you’ll also get my FREE Chocolate Cookies & Bars eBook!

Milk Chocolate Toffee Cookies
Equipment
- candy thermometer
- heavy-bottomed saucepan
- cookie sheets
- parchment paper or silicone baking sheets
Ingredients
Toffee Bits Ingredients
- 1/2 c butter
- 1 c light brown sugar, packed
- 1 tsp kosher salt
Cookie Ingredients
- 1 c butter, softened
- 1 c light brown sugar, packed
- 2 tsp vanilla extract
- 1 T heavy whipping cream or milk
- 1 tsp molasses
- 1/2 c granulated sugar
- 1 egg
- 1 egg yolk
- 2 1/4 c flour
- 1 tsp kosher salt
- 1 tsp baking soda
- 1 c chopped milk chocolate
- 1 c toffee bits
- coarse sea salt to top
Instructions
Toffee Bits
- Line a baking sheet with parchment paper or a silicone baking mat.
- In a heavy-bottomed saucepan, melt butter over medium heat, then add brown sugar and salt.
- Whisk vigorously for about a minute, until everything is well-combined and the sugar has melted.
- Continue cooking, stirring often, until the mixture reaches right around 300°F on a candy thermometer.Note: if it separates at any point, don't panic. Just remove the pan from the heat and whisk vigorously until it combines again, then return it to the heat and continue cooking.
- Once it reaches the desired temperature, immediately pour it onto your prepared baking sheet and let is spread out (you can spread it out further for thinner toffee bits if you want, using a heat-proof spatula).
- Let the mixture cool for about 20 minutes, then break it into bits. I found that tapping it with a wooden spoon broke it up nicely, but a knife and cutting board work well too. Or, to avoid flying shards, you can put the toffee into a plastic bag and break it up with a rolling pin or wooden spoon.
- Measure out 1 c of toffee bits for your cookies. The remainder can be stored in an airtight container for up to a week. They're great on ice cream, as a cake topping, or just for snacking. 😉
Milk Chocolate Toffee Cookies
- Brown HALF of the butter (leave the other half at room temp to soften). See my post on "Brown Butter" for instructions. Pour brown butter into a bowl or other container to cool for 20 minutes.
- In a small bowl, combine the flour, salt, and soda. Set aside.
- Beat the other half of the butter with the brown sugar until smooth, about 2-3 minutes on medium speed.
- Add vanilla, heavy cream, and molasses and mix until combined.
- Add the COOLED brown butter and the granulated sugar. Beat until fluffy, about 2 minutes on medium speed.
- Add egg and yolk. Beat until well combined, about 1 minute.
- Add flour mixture and mix on low just until combined. You should still have some bits of unmixed flour throughout the dough.
- Fold in milk chocolate and toffee bits, using a wooden spoon or rubber spatula.
- Refrigerate dough overnight (up to 24 hours). This step is CRUCIAL to fully develop the flavors and create the texture we're going for here. You can chill them for a shorter time, but be aware that the cookies will spread more when they bake.When you're ready to bake, set the dough out at room temperature for 10-15 minutes to soften up a bit (it will make scooping a bit easier).
- Preheat oven to 350°F. Line 2 cookie sheets with parchment paper or silicone baking sheets.
- Using a cookie scoop, ice cream scoop, or your hands, form dough into about 2.5T balls and place 2" apart on a cookie sheet.
- Bake for 10-12 minutes, or until beginning to brown around the edges.
- Remove from oven and sprinkle with coarse sea salt. Allow the cookies to cool on the cookie sheet for a bit (10ish minutes), then move them to a cooling rack to cool completely.
- Store in an airtight container at room temperature for up to 5 days, or freeze for up to a month.


One Comment
Pingback: