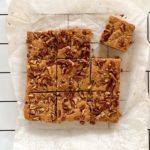
Maple Pecan Blondies
It’s finally here…the best time of the year! I know it’s basic to love fall, but I just can’t help myself…that crisp air, bright sunshine, changing leaves, and, of course, all the fall flavors. Chai spice, pumpkin, cinnamon, apple…I love them all. This particular recipe makes use of another fall favorite—maple—in a chewy brown butter blondie. Introducing Maple Pecan Blondies!
Your New Fall Favorite (Trust Me)
These are the kind of bars that, if they’re on a dessert tray with brownies or other more exciting-looking things, you might not go for them. But that would be a mistake.
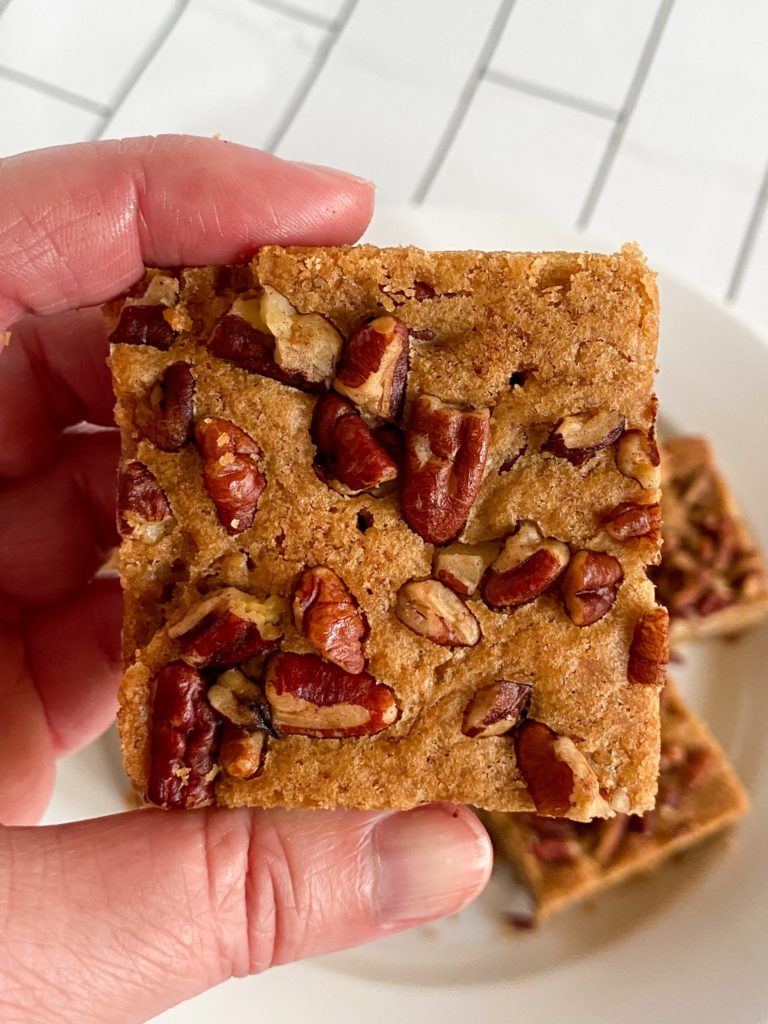
These blondies are much more exciting (and delicious) than they look. They’re buttery, soft, and chewy, with a sweet-but-not overly-so maple flavor, enhanced by the slight muskiness of toasted pecans and brown butter. (Side note: if you’re a fan of maple and pecans, try my Maple Pecan Pie!)
I adapted this recipe from my Malted Coffee Blondies, which is another tastier-than-it-looks treat…but with a totally different flavor profile. If you’re a fan of chocolate, coffee, and malt powder, you’ll love them.
But I digress…back to these delicious fall blondies.
Real Maple Syrup = Real Maple Flavor
The main flavor in these bars comes from real maple syrup. No maple-flavored pancake syrup here—just pure mapley goodness. Pure maple syrup is SO much tastier than the fake stuff, with none of the artificial sweetness. It’s a must here. (I used this brand, but any pure maple syrup will do.)
Now, you’ll notice that I do add a little maple extract to the dough as well…which, if you’re a purist, will be shocking. But I found that just a hint of maple extract enhanced the maple syrup’s flavor without giving it a fake aftertaste. The trick is to only use a little. (And if you can’t handle the thought of using maple flavoring…or don’t have any…you can leave it out.)

Boost the Flavor Further With Brown Butter and Toasted Pecans
Brown butter helps counteract the sweetness of the maple syrup while adding a nutty complexity. Now, I know you’re supposed to use unsalted butter when you brown it, but I like the extra saltiness of salted butter. (I know, I know, as a baker I’m supposed to be a stickler about using unsalted butter…but I can’t help it. I like what I like.)
You can read all about how to brown butter in my post on the topic, which includes photos and tips. But here’s a quick breakdown:
- Melt your butter in a light-colored, heavy bottomed saucepan on medium heat, occasionally swirling the pan or stirring.
- The butter will froth up and snap, crackle, and pop like crazy. The froth will clear out, and the crackling will continue. Keep swirling/stirring occasionally.
- Then, it will froth up again and the crackling will stop. Once the crackling stops, keep a closer eye on the butter, and stir/swirl more frequently. At this point it will start to brown and smell nutty.
- Once the butter reaches an amber color, remove it from the heat and immediately pour it into another dish. (If you leave it in the pan it will keep cooking and could burn.) Make sure you get all those luscious brown bits at the bottom of the pan—they add great flavor!
- Let it sit just until it’s cool, but still liquid.
As for the pecans, you’ll definitely want to toast them before adding them to the dough. Toasting nuts makes them taste…well, nuttier I guess. If you skip that step you’ll still have tasty blondies, but they’ll be missing something.
To toast your pecans, simply spread them out on a cookie sheet and bake at 350°F for about 5 minutes. Watch them closely—they can go from just right to burnt in a snap. If they’re still not toasty-looking and -smelling at 5 minutes, bake them a minute or two longer.
A Few More Tips To Make Your Best Maple Pecan Blondies
This type of bar begs the question – what’s the difference between blondies and cookie bars? Not much really. They have basically the same ingredients, though blondies tend to be heavier on the brown sugar. The main difference is in how they’re mixed.
With cookie dough, you generally cream the butter and sugar, then add in eggs and vanilla, then your dry ingredients and chocolate chips or other mix-ins. With blondies, however, you beat the eggs first, add your brown sugar and beat some more, then add melted butter and vanilla, then your dry ingredients and mix-ins. The result is a much chewier bar with a sort of shiny, crackly top (similar to brownies).
Other than mixing things in the right order, here are a few more tips to make your best blondies:
- Make sure your brown butter is cooled completely but still liquid. If you add it when it’s warm, it’ll melt the dough…but if it’s solid, it won’t mix in as easily and you’ll end up over-mixing.
- Grease AND line the pan with parchment to make pulling these bars out of the pan easy as pie. (Ok, you can skip the parchment if you really want to, but definitely don’t skip greasing the pan.)
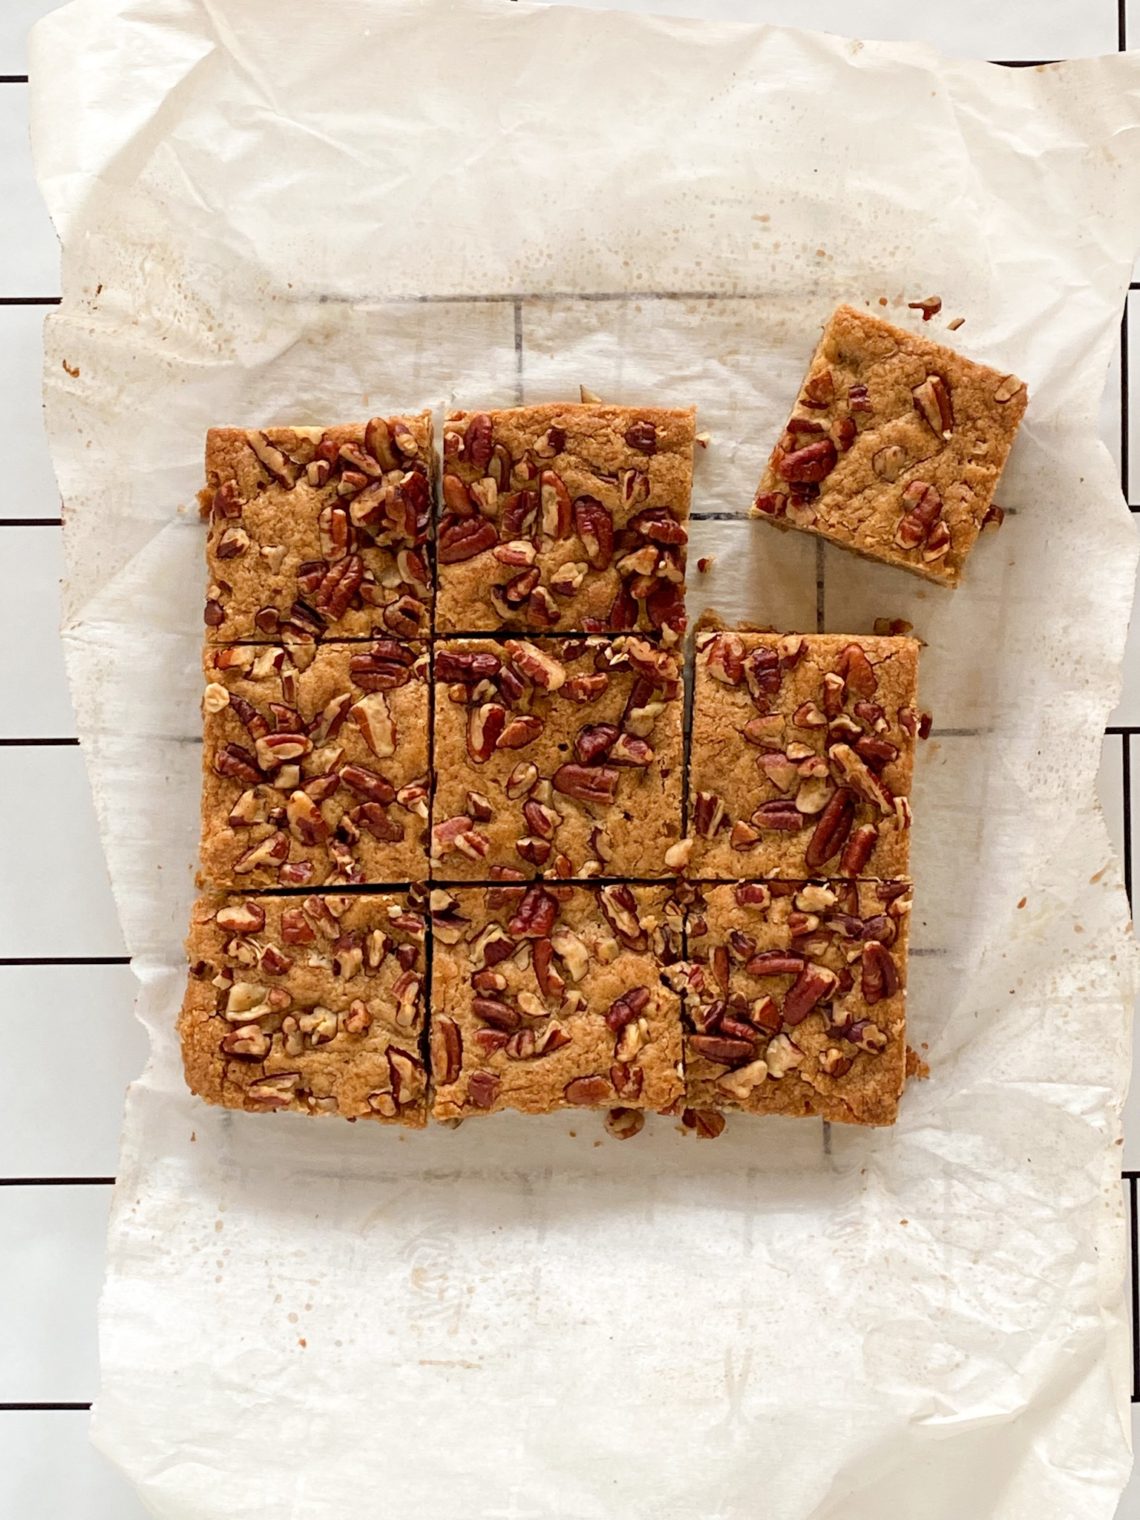
- For more uniform-looking bars, cut the four edges off first before cutting them into 9 square (or 12 rectangular) bars. (The scraps are a baker’s treat. ;))
- I used an 8×8 pan for this recipe, but a 9×9 pan would work too. Or, if you prefer a thinner bar, use a 9×13 pan and bake them for 20-24 minutes.
- Fold 1/2 of the nuts into the dough and sprinkle the other 1/2 on top for prettier blondies. (If you don’t care about looks, you can fold them all in).
- Mix-in options:
- Add some chocolate if you want! White chocolate chips would be especially delicious.
- Try different nuts—cashews, walnuts, almonds…all would be tasty!
Ok, those are all the tips I have for you today. Give these tasty blondies a try and let me know what you think in the comments below!
Maple Pecan Blondies
Equipment
- 1 8×8 or 9×9 square cake pan
- parchment paper
Ingredients
- 3/4 c butter
- 1 1/2 c all-purpose flour
- 1/2 tsp salt
- 1/2 tsp baking powder
- 1 large egg
- 1 c brown sugar
- 2 tsp vanilla extract
- 1 tsp maple extract
- 3 T maple syrup*
- 1/2 c toasted pecans
For Topping
- 1/2 c toasted pecans
Instructions
- Brown your butter (see my post on brown butter for instructions). Pour into a bowl and set aside. Allow to cool, but not harden (about 1 hour). You can pop it in the fridge to cool faster, but keep an eye on it – you still want it in liquid form.
- Preheat oven to 350°F
- Grease an 8×8 or 9×9 square cake pan. Then, to make it easier to remove the blondies from the pan, line with parchment paper, allowing the paper to hang over two edges of the pan. Lightly grease the parchment.
- In a small mixing bowl, whisk together the flour, salt, and baking powder. Set aside.
- In the bowl of a stand mixer (or in a large bowl using a hand mixer), beat the egg for 1 minute at medium speed.
- Add brown sugar and continue beating until light-colored and creamy-looking, 2-3 minutes. Scrape bowl as needed.
- Add cooled brown butter, vanilla, maple extract, and maple syrup. Beat until well-combined and creamy, scraping bowl as needed, about 1-2 minutes.
- Add flour mixture and mix until just combined. Fold in 1/2 c toasted pecans.
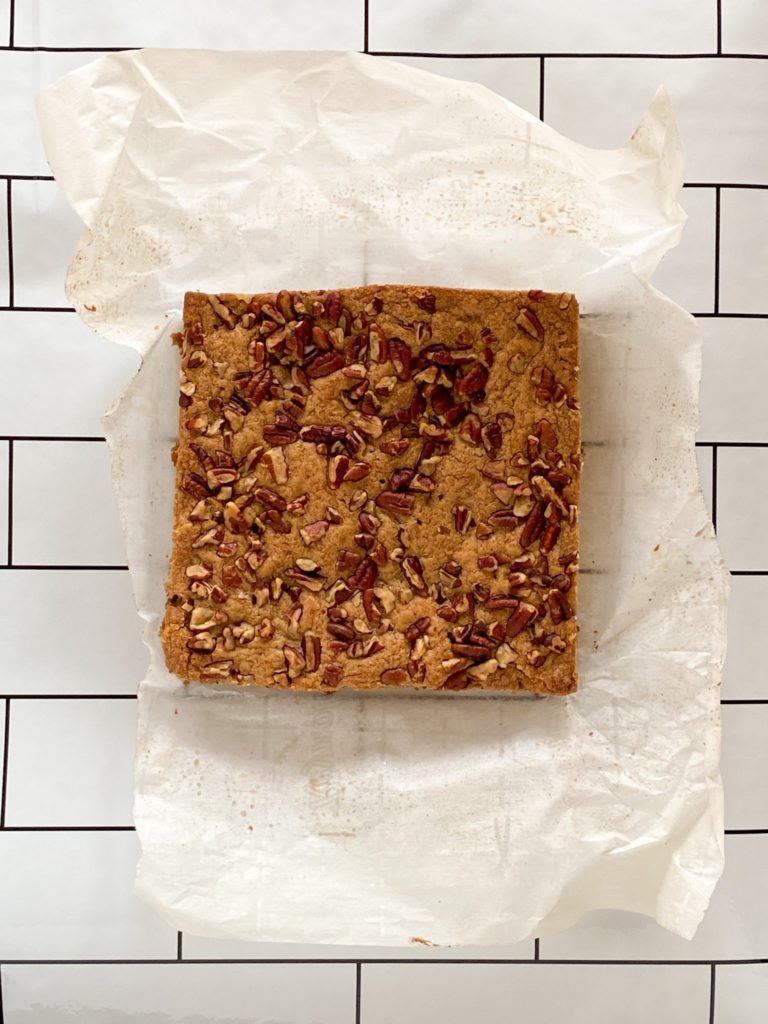
- Spread dough evenly into the prepared pan. Sprinkle top with additional 1/2 c toasted pecans.
- Bake for 30-35 minutes, or until a toothpick inserted into the center comes out clean. Remove from oven and allow to cool completely on a wire rack.
- Using the parchment paper, pull blondies out of the pan. Cut and enjoy! Store leftovers in an airtight container at room temperature for 3-4 days. Or freeze for up to a month.
—————————–
Stay Up-to-Date With the Latest Northern Ginger Recipes
Join my email list to get notified about new blog posts and receive occasional newsletters (if I ever get around to writing them:)).


4 Comments
Pingback:
Pingback:
Pingback:
Pingback: