

Dark Chocolate Cherry Scones
Valentine’s Day is upon us. That means it’s time for allll the chocolate…even for breakfast. Yep, a holiday like this one calls for a decadent, chocolatey start to the day. (I mean, let’s be real, I’ll take an excuse to eat chocolate for breakfast any day, but this holiday is just begging us to indulge.) These Dark Chocolate Cherry Scones are the perfect thing to serve your loved one (or yourself) for a Valentine’s Day breakfast in bed!

How to make flaky AF scones
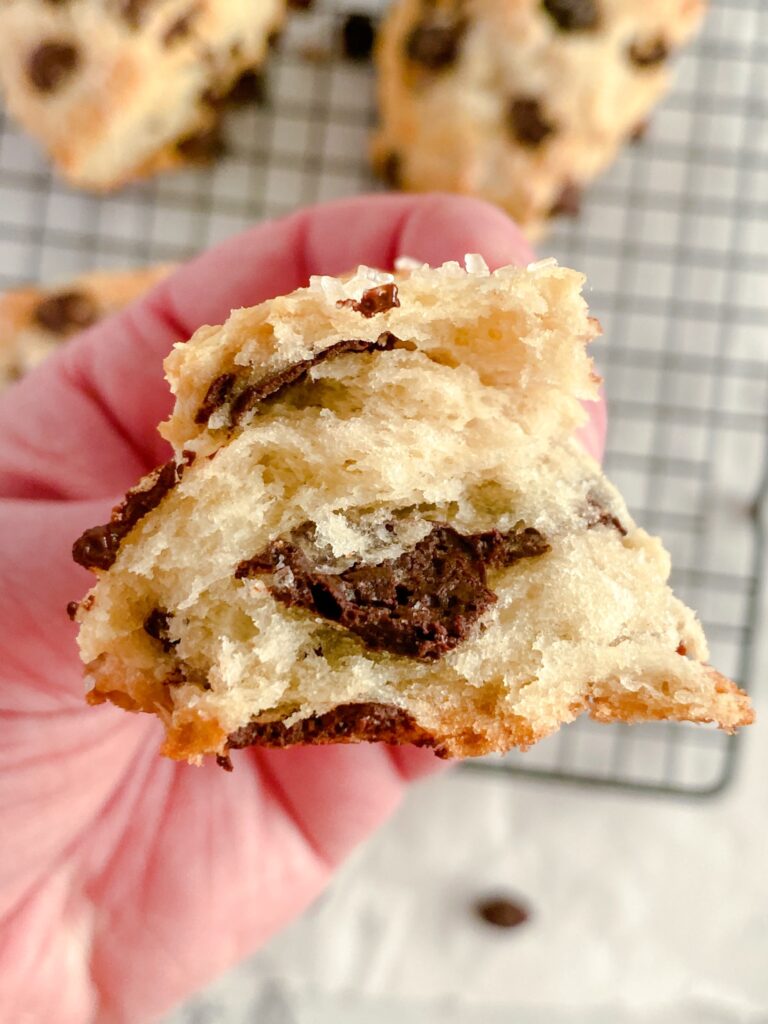
Every scone, chocolate or not, should be flaky and tender. And the way you get that flakiness is the same way you get it in pie crust: BUTTER. More specifically, cold butter worked into a flour mixture.
For these scones, you first combine the dry ingredients—flour, leavener, and salt—then use your hands or a pastry blender to work the cold butter into the flour mixture. Just as with pie crust, you don’t want to work the butter too long—it should stay relatively cold. You should end up with pieces of butter that are a little larger than pea-sized.
Then, you add the mix-ins (in this case, dried cherries and dark chocolate chips or chopped dark chocolate), then your liquid. I prefer buttermilk, but if you don’t have it or don’t like it, you can use any milk with a little lemon juice or vinegar added to it. As you add the liquid to the dry ingredients, mix gently, using either your hands or a fork. The mixture might feel a little crumbly, but don’t add more liquid or you’ll end up with a sticky mess. Just gently press the mixture together to form a rough ball. Then flatten the ball into a disc about 1/2″-3/4″ thick, and cut into six pieces.
Now comes the next trick for flaky scones. Freeze the scones for half an hour to an hour before baking. This ensures the butter is nice and chilled, so that as it melts during baking it leaves little pockets of air throughout the scones, which result in all that flaky goodness.
And that, dear friends, is how you make flaky, delicious scones for your Valentine (or your Galentine…or yourself #selflove). I mean, check out that flakiness!
Love breakfast treats? Here are a few more you might like
I hope you love these Dark Chocolate Cherry Scones. If you’re looking for more sweet breakfast goodies, you might also enjoy having these tasty treats at your breakfast table:
- Strawberry White Chocolate Scones
- Buckwheat Rhubarb Muffins with Pecan Streusel
- Pumpkin Chocolate Chip Muffins
- Peanut Butter Chocolate Chunk Granola
- Apricot Ginger Granola
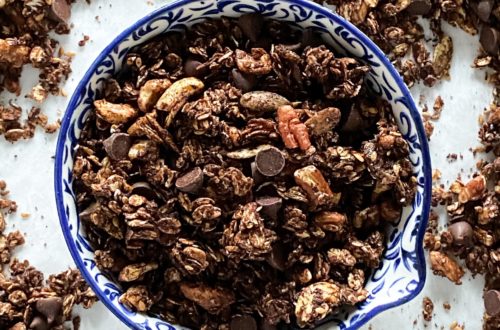
- Chocolate Lover’s Granola
No matter what you make your loved ones for breakfast this Valentine’s Day, don’t forget to serve it with a side of love.

Did you make this recipe? Let me know in the comments!
If you end up making these Dark Chocolate Cherry Scones, I’d love to hear what you think! Leave me a comment below, or tag me in your photos on Instagram or Facebook.
Happy V-Day, and happy baking!

Dark Chocolate Cherry Scones
Ingredients
- 1 1/2 c all-purpose flour
- 1 1/2 T granulated sugar
- 1 tsp baking powder
- 1/2 tsp baking soda
- 1/2 tsp salt
- 6 T cold butter, cut into small pieces
- 1/2 c buttermilk*
- 1/2 tsp almond extract
- 1/2 c dried cherries
- 1/2 c dark chocolate chips or chopped chocolate
Instructions
- In a medium bowl, combine flour, sugar, baking powder, baking soda, and salt.
- Using your hands, rub the cold butter into the flour mixture until you have pea-sized or slightly larger pieces. Stir in dried cherries and chocolate chips, mixing until they're coated in flour.
- Combine buttermilk and almond extract, then slowly add to the flour mixture, mixing gently with hands or a fork.
- Once all buttermilk has been added, use your hands to gently press the mixture together into a ball. Note: if the mixture is dry at this point, don't add more liquid (trust me). Also, make sure not to overwork the dough. Just press it together until it forms a ball.
- On a lightly floured surface, press the ball into a 1/2"-3/4" thick disc. Cut disc in half, then cut each half into thirds, making 6 triangles. Place scones onto a parchment or Silpat lined baking sheet, then set the sheet in the freezer for 30-60 minutes (optional, but it makes for a fluffier, flakier scone).
- Preheat oven to 425°F.
- Bake scones for 12-16 minutes, or until scones are golden brown and there are no wet-looking spots on top.
- Allow scones to cool on the baking sheet for about 10 minutes, then remove to a cooling rack to cool. Serve warm or at room temperature.
Notes
Stay Up-to-Date With the Latest Northern Ginger Recipes
Join my email list to get notified about new blog posts and receive occasional newsletters (if I ever get around to writing them:)).


2 Comments
Suzanne
Make them just as written, except I substituted yogurt for the buttermilk. We loved them. Light and slightly fluffy, with plenty of cherries and chocolate!
Jamie
Ooh yogurt is a great substitute! Glad you enjoyed them!