No-Bake Lemon Dream Cheesecake
Summer may be coming to a close, but I think there’s still time left for a few more BBQs…and no-bake desserts to go with them! And I think we need something light and lemony that lends itself to some fresh fruit topping while fruit is still in season. This No-Bake Lemon Dream Cheesecake is just the thing.
The Joy of No-Bake Desserts
Clearly, I love baking, or I wouldn’t have this blog. But sometimes even I don’t want to turn the oven on (hello humid Minnesota summers! 🥵). That’s when having a few no-bake dessert recipes on hand comes in handy.
I’ve been focused on no-bake desserts all summer, not only because of the heat and humidity, but also because the oven in my new house isn’t the greatest. I just ordered myself a new oven though, so once that arrives I can finally dig into some major baking at my new place! I. can’t. wait!!
But in the meantime, it’s no-bake desserts or bust.
And this is a GOOD one. I included “dream” in the name of it for a reason — it’s so good that even when the fall chill sets in and you’re tempted to turn the oven on, you’ll still want to eat this.
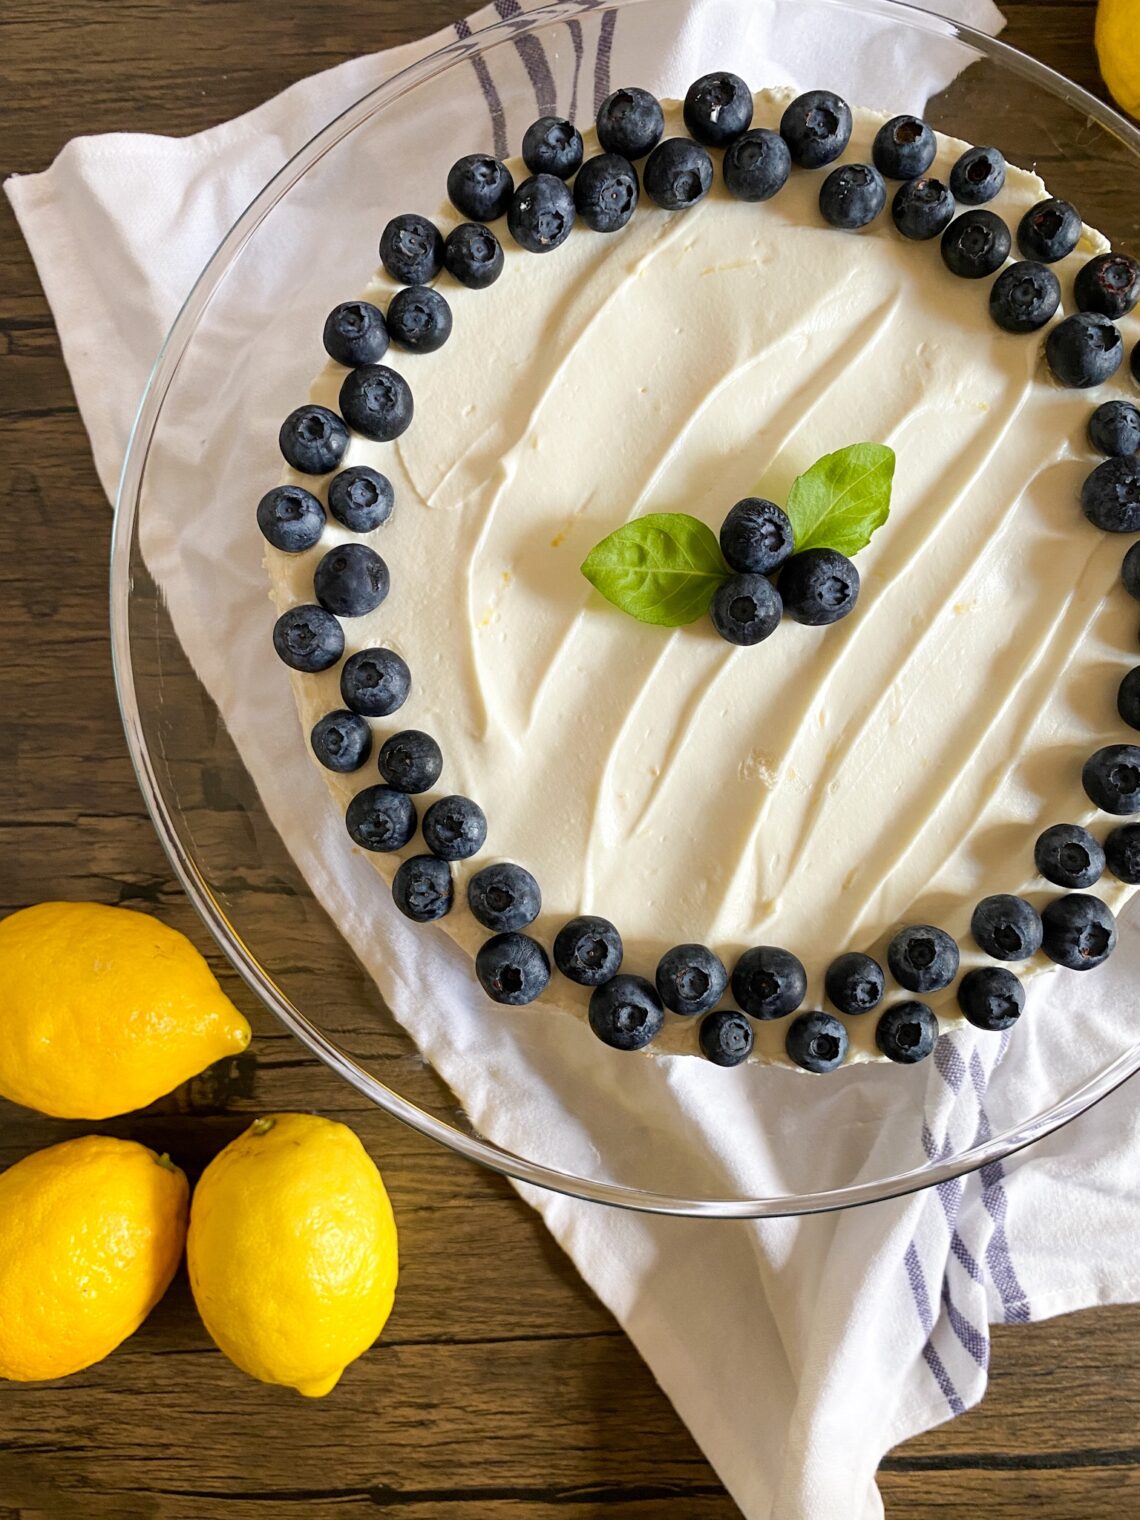
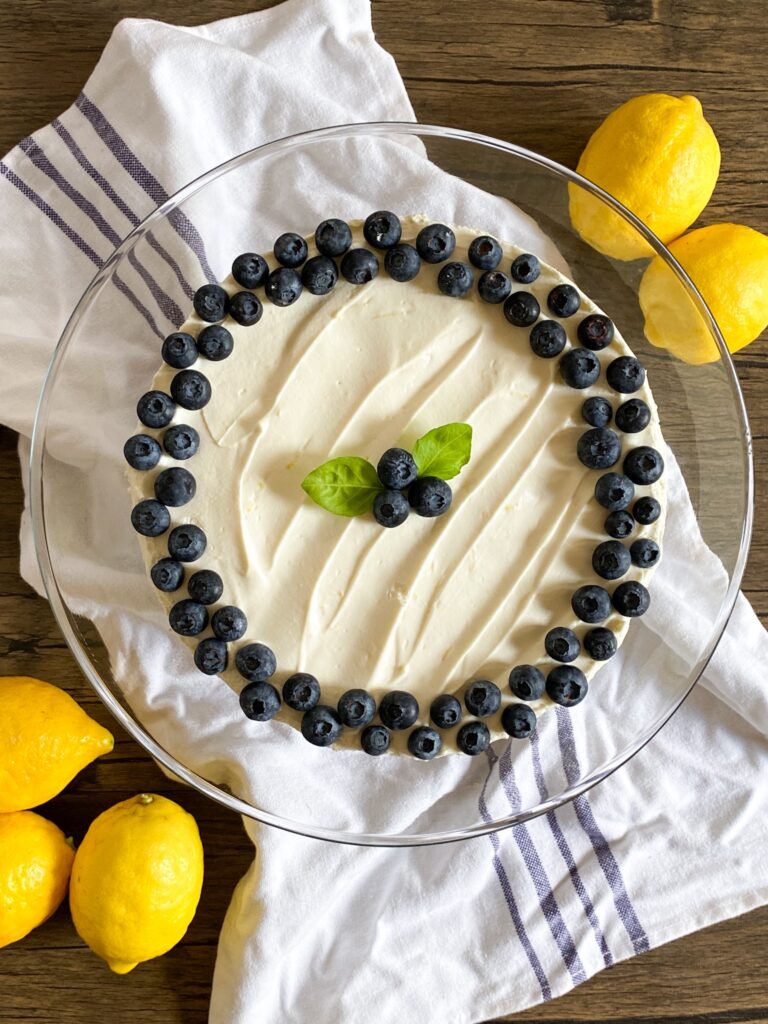
I mean, just look at her. 😍

How To Make No-Bake Lemon Dream Cheesecake
This cheesecake is so simple. There are really only three steps to it: make the crust, mix up the filling, and let it chill. But here’s a little more detail:
- Mix together the crust ingredients, press it into a springform pan (preferably lined with parchment paper), and chill it until the filling is ready.
- Mix together all filling ingredients except the whipping cream; then, whip the cream separately. Finally, fold the two together and pour the filling into the prepared crust.
- Let it chill for at least 8 hours, or overnight. This will make sure it firms up nicely (don’t worry, it’ll still be so light & fluffy!) Then, slice and serve!
Easy peasy lemon squeezy. (Pretty sure that phrase was made for this dessert.)

Tips For Making Your Best No-Bake Lemon Dream Cheesecake
While this is a simple, easy dessert to make, there are a few things that will help your cheesecake turn out, as Goldilocks said (paraphrased), “juuuust right.”
- Use fresh-squeezed lemon juice. The stuff in the bottle is fine, but you’ll notice the difference with fresh-squeezed. Depending on how juicy your lemons are, you’ll probably need 1-2 lemons to get 1/3c juice. I use a juicer like this one.
- Give your limes a scrub before zesting. My favorite way to zest citrus for baking is with a Microplane zester — I use (and love) this one.
- Use full-fat cream cheese. Low-fat or non-fat cream cheese won’t set as well (you need the fat!). (Plus, the full-fat stuff just tastes better.)
- Don’t over-whip the cream. But if you do, don’t stress, it’ll still work. Even if it’s a little on the stiff side, just keep folding it into the rest of the filling until every bit of whipped cream is mixed in and there are no chunks. (Unless, of course, you whip the cream until it turns to butter…in which case spread it on some toast and try again.)
- Fold gently. Use some patience here. You want everything to be well-mixed, but you don’t want to lose all that air you just whipped into your cream.
- Choose your own cookie adventure. I used graham crackers for the crust, but Nilla wafers, butter cookies, or shortbread would be amazing too!
- Top with your favorite fruit and/or herbs. I opted for blueberries, because they go great with lemon, as well as a little basil, because I happen to have a lot of it. But use your favorite! I’m thinking fresh juicy peaches and a little thyme could be amazing too.

More No-Bake Recipes
If you’re looking for more easy recipes for your next gathering (or if your oven is on the fritz like mine) give these other no-bake winners a try:
- Chocolate Peanut Butter No-Bake Cookies
- Salted Brown Butter Rice Krispie Bars
- No-Bake Key Lime Cheesecake
- Rocky Road Rice Krispie Bars (Small Batch)
- Strawberries and Cream Rice Krispie Bars (Small Batch)
Ok friends, time to get no-baking! Enjoy, and let me know what you think in the comments below!
Stay Up-to-Date With the Latest Northern Ginger Recipes
Join my email list to get notified about new blog posts and receive occasional newsletters (if I ever get around to writing them:)).
No-Bake Lemon Dream Cheesecake
Equipment
- 9-inch springform pan
Ingredients
Graham Cracker Crust
- 1 3/4 c graham cracker crumbs
- 2 T granulated sugar
- 1/2 c (8T) butter, melted
Lemon Dream Cheesecake Filling
- 16 oz cream cheese, softened
- 1 can (14oz) sweetened condensed milk
- 1/3 c fresh-squeezed lemon juice
- zest of 1 lemon
- 1/4 tsp vanilla extract
- pinch salt
- 1 c heavy whipping cream
Instructions
Graham Cracker Crust
- Line just the bottom of a 9-inch springform pan with parchment paper. (This is optional, but it will make the finished cheesecake easier to remove from the pan).
- Combine all ingredients in a medium mixing bowl. Stir until melted butter is mixed through and all crumbs are wet. Press firmly and evenly into the bottom of the springform pan, packing it down with a measuring cup, glass, or your hands.1 3/4 c graham cracker crumbs, 2 T granulated sugar, 1/2 c (8T) butter,
- Set the pan in the refrigerator to chill until the filling is ready.
Lemon Dream Cheesecake Filling
- In the bowl of a stand mixer fitted with the paddle attachment (or in a large mixing bowl using a hand mixer), beat the cream cheese and sweetened condensed milk on medium speed until it's nice and smooth, about 5 minutes, stopping to scrape the bowl a couple of times.16 oz cream cheese,, 1 can (14oz) sweetened condensed milk
- Add the lemon juice, zest, vanilla, and salt, and beat until well-combined, about 1 minute. Empty the mixture into a separate bowl, and set it aside for now.1/3 c fresh-squeezed lemon juice, zest of 1 lemon, pinch salt, 1/4 tsp vanilla extract
- In the mixing bowl (you don't have to wash it first…it'll all get mixed together eventually), use the whisk attachment to beat the whipping cream on medium speed until it forms stiff peaks.1 c heavy whipping cream
- Gently fold the whipped cream into the cream cheese mixture until it is fully combined. Pour into the prepared crust, smoothing the top. Refrigerate overnight, or at least 8 hours.
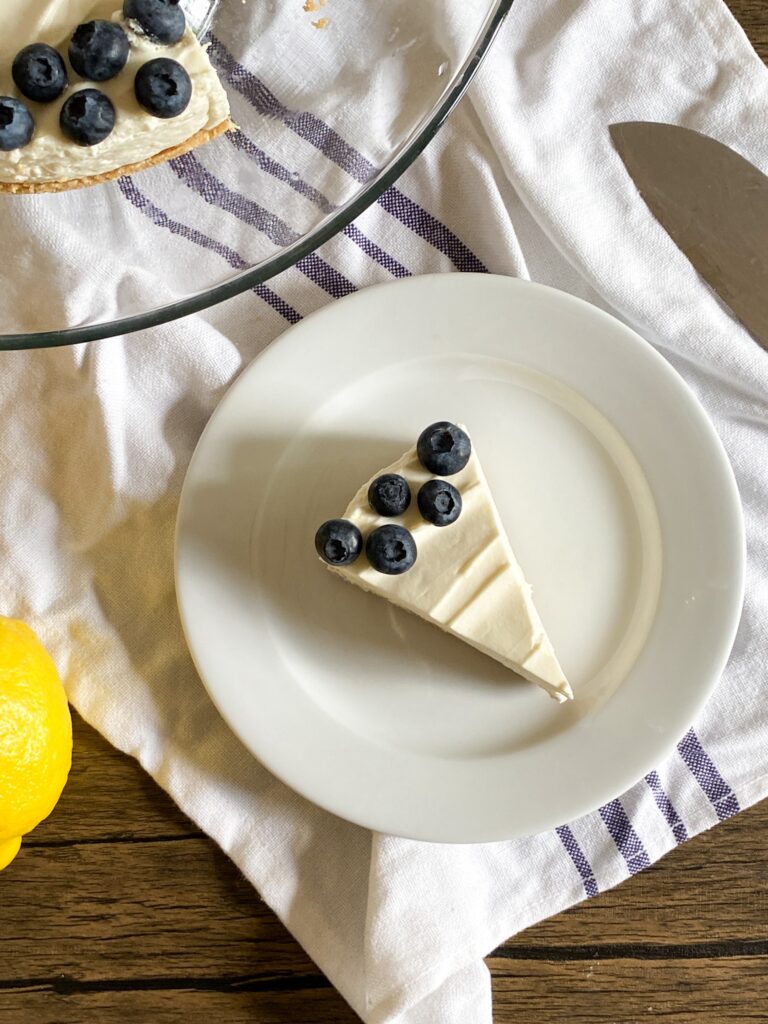
- To serve, remove from pan and place on a serving plate. Decorate the top with your favorite fruit and herbs. Cut, serve, and enjoy!Store any leftovers covered in the refrigerator for up to 5 days, or freeze for up to a month. (TBH, it's delicious frozen too!)
Did You Make This Recipe? Leave a Review!
If you made this recipe and loved it (or didn’t love it), please consider leaving a review and a comment below! Reviews help these recipes show up more prominently in online searches, and feedback in the comments (good or bad…but please be kind:)) helps me know what turns out well for you and what could use some work.
Thanks for being here and baking my recipes!


