
Mocha Almond Magic Bars
It may be officially spring, but in northern Minnesota, that just means we’re in the final months of winter. And while I’m a winter-lover (thus why I live here), this part of winter is always the toughest, because it’s gray, cold, and rainy/sleety/icy, vs earlier in the winter when snow covers everything and it’s actually pretty outside. It’s a little…depressing. And what do we do when we’re depressed? Yep, that’s right, we eat chocolate…preferably with a side of espresso. That’s where these Mocha Almond Magic Bars come in.
A Magical Flavor Combo
I LOVE the combination of chocolate and espresso (as I type this, I’m snacking on dark chocolate-covered espresso beans), so I try to use them in my baking as often as possible.
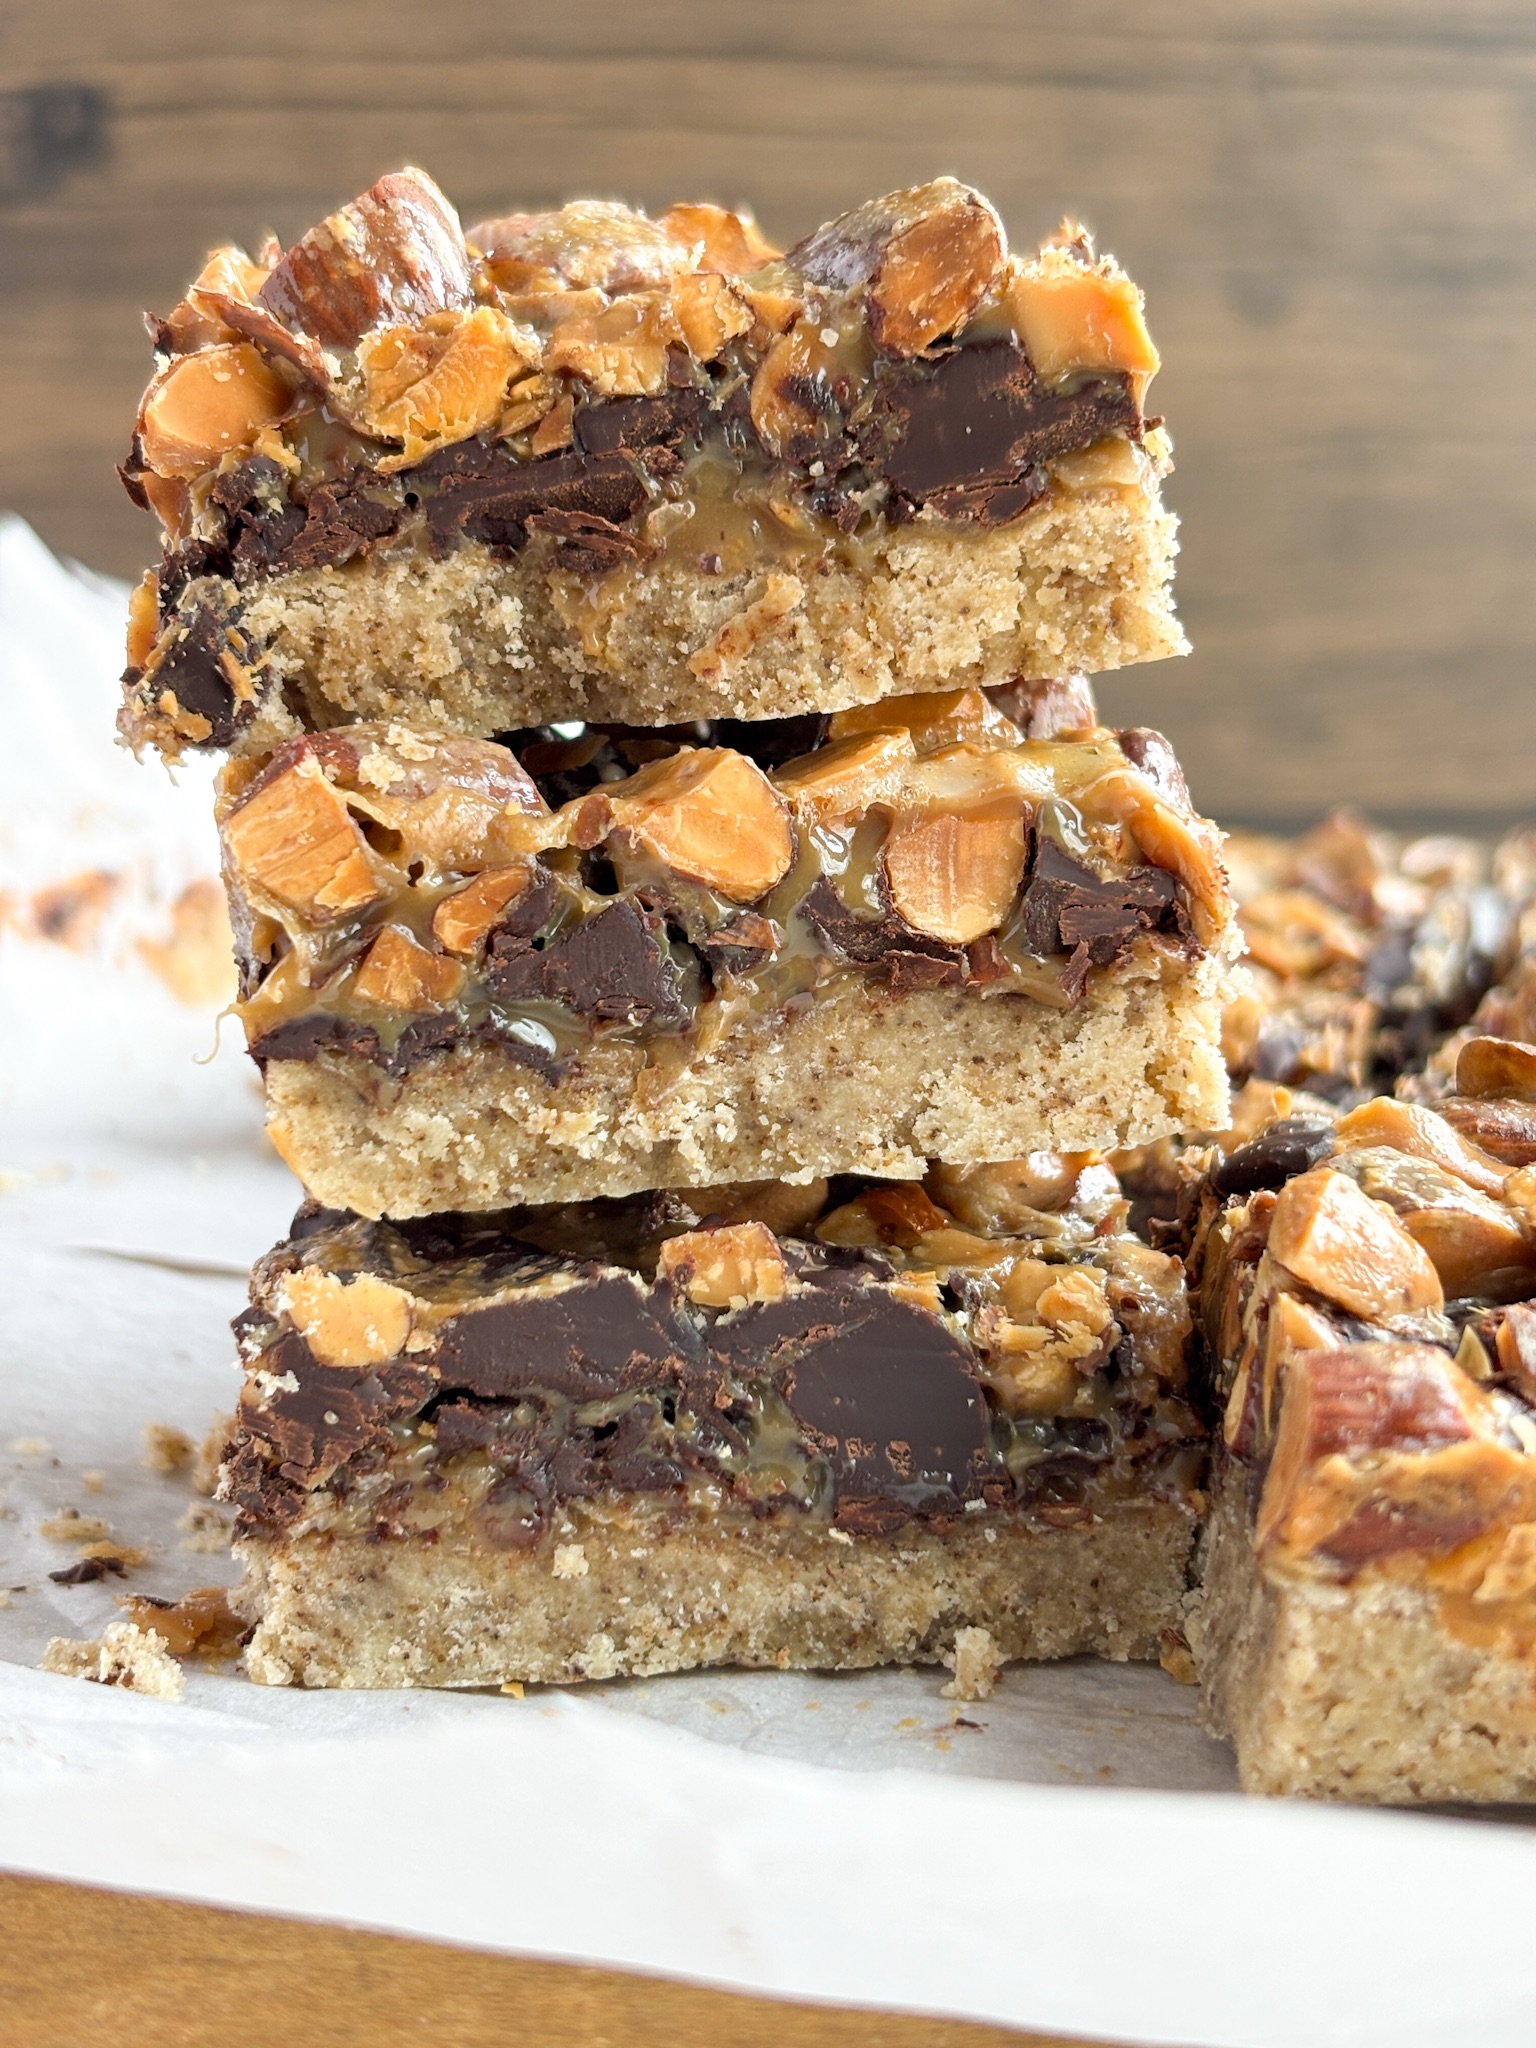
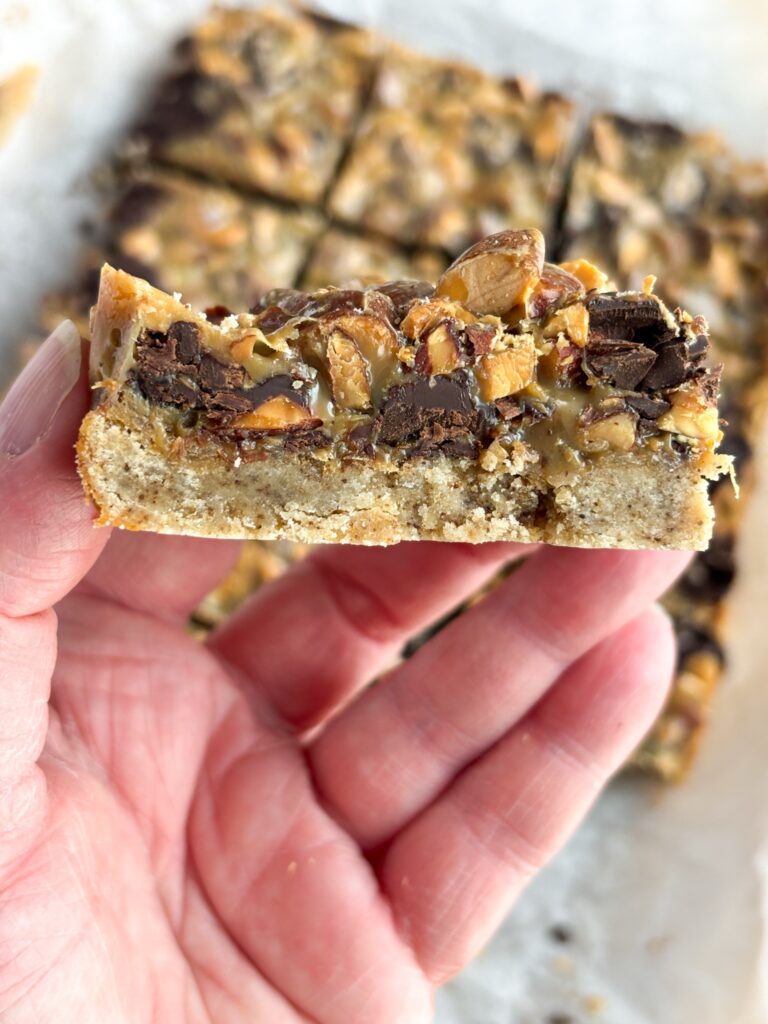
For these bars, I was inspired by those dark chocolate, almond, and sea salt Kind bars (you know the ones)…which are fantastic with a shot of espresso. Add a shortbread crust, a little coconut for chewiness, and some sweetened condensed milk that gets all caramelly in the oven, and OMG.
They’re, soft, chewy, crunchy, and ooey gooey all at once, and I’m in love with them.

What Puts the “Magic” in 7-Layer Magic Bars?
I can’t seem to stop making different versions of 7-layer, or “magic” bars. I posted a more traditional version a couple of years ago right around this time. And then this past December I made a Matcha Pistachio version (they’re so freaking good). (I’ve linked to both of these recipes at the end of this post for you, in case you want to try them.)
This Mocha Almond version is the latest addition to my collection. And it just might be my favorite.
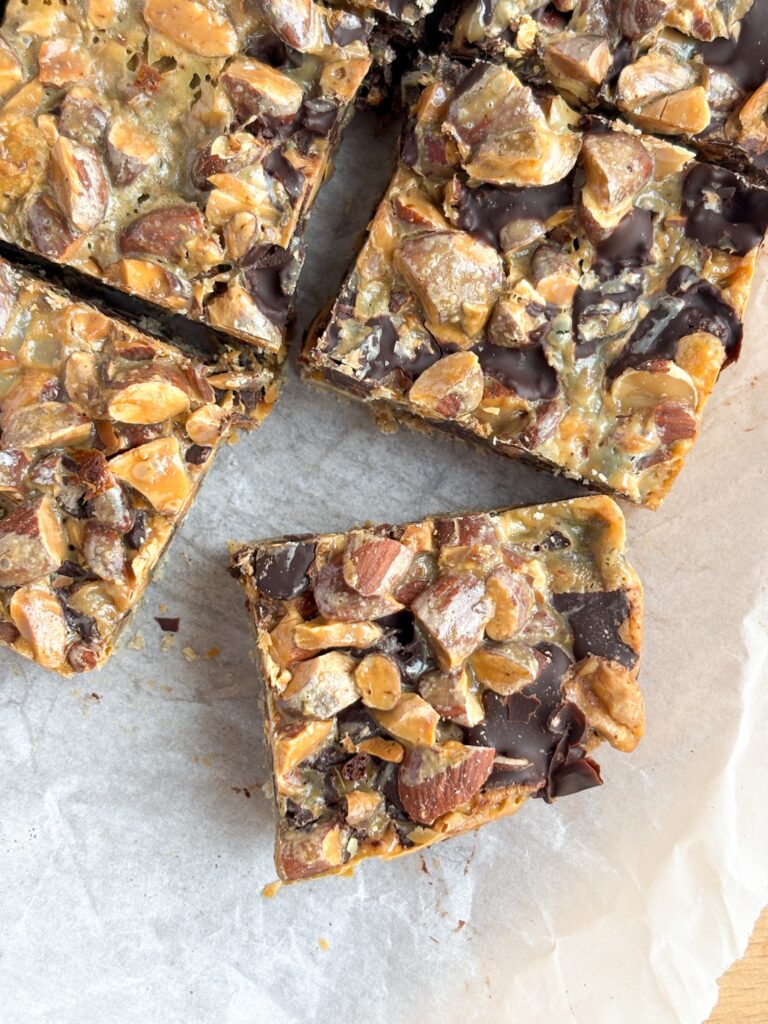
Instead of the traditional semisweet chocolate and butterscotch/white chocolate chips, these bars have chopped dark chocolate. I like a 70% or higher chocolate, chopped very roughly so you bite into big chunks of chocolate. In place of the typical graham cracker crust, these bars have an espresso shortbread. It’s buttery, tender, and packed full of coffee flavor. Then, for even more coffee flavor, I added some instant espresso to the sweetened condensed milk that you pour over the top of these bars before baking.
Finally, instead of pecans or walnuts — which typically play a major role in 7-layer bars — I opted for roasted and salted almonds. I went for a rough chop with the almonds as well, to make sure there was plenty of crunch in these bars.
Really, the only thing I kept from the original 7-layer bar was the coconut. Flavor-wise, it might sound like an odd addition, but you honestly don’t really taste the coconut — it just adds a chewy texture.
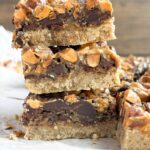
The result: these gorgeous, gooey, chocolatey, and crunchy bars.
Share the Magic
This is the kind of dessert that is perfect for sharing, and they travel well (they freeze pretty well, too). They’re great for edible gifts, picnics, and road trips (though they’re a little sticky, so bring some wet wipes). And they’re especially suited for those “I noticed you were having a hard time so I brought you chocolate” kind of gifts. (I bet you can think of someone who needs a chocolate treat right now!)
And yes, just as the traditional 7-layer bars are what Minnesotans call “funeral bars” (a.k.a., they’re often seen on dessert trays at funerals), these too would be perfect for a funeral, wedding, or baby shower dessert tray.
So make a batch of Mocha Almond Magic Bars today and share the magic with someone who needs it. These bars won’t fix their problems, but they’ll definitely put a smile on their face.
Like these bars? Try my other magic bar recipes:
Stay Up-to-Date With the Latest Northern Ginger Recipes
Join my email list to get notified about new blog posts and receive occasional newsletters (if I ever get around to writing them:)).
Mocha Almond Magic Bars
Equipment
- 9×9 square cake pan
Ingredients
Espresso Shortbread Ingredients
- 3/4 c butter, softened
- 1/4 c granulated sugar
- 1 tsp vanilla extract
- 1 T instant espresso powder
- 1 1/2 c all-purpose flour
- pinch salt
Topping Ingredients
- 3/4 c shredded coconut
- 1 3/4 c roughly chopped dark chocolate or chocolate chips
- 1 1/4 c roughly chopped roasted & salted almonds
- 1 14 oz can sweetened condensed milk
- 1 T instant espresso powder
Instructions
- Preheat oven to 325℉. Line a 9×9" square baking pan with parchment paper, leaving some overhang on two sides (this makes the bars easier to pull out of the pan when they're baked).
- In the bowl of a stand mixer (or a large mixing bowl using a hand mixer), cream together the softened butter and granulated sugar. Once it's light and fluffy, add vanilla and espresso powder and mix until combined.3/4 c butter,, 1/4 c granulated sugar, 1 tsp vanilla extract, 1 T instant espresso powder
- Add flour and salt and mix until combined. You shouldn't have any unmixed flour, but the dough will still be in large crumbles.1 1/2 c all-purpose flour, pinch salt
- Pour crumbles into your prepared pan, and press firmly into the pan, ensuring the dough reaches to all four sides and corners of the pan. Poke holes into the dough with a fork, then bake for 20 minutes. Remove from the oven and allow them to cool for a few minutes.
- Turn oven up to 350℉.
- Whisk together the sweetened condensed milk and 1T of espresso powder until all espresso powder is incorporated. (Pro tip: If the espresso powder doesn't seem to want to dissolve, let it sit for a few minutes, then mix again. At this point it should be fully dissolved.)1 14 oz can sweetened condensed milk, 1 T instant espresso powder
- Add the toppings to your espresso shortbread in this order: all of the coconut, half the dark chocolate, half the almonds, remaining dark chocolate, and remaining almonds.Pour the espresso & sweetened condensed milk mixture evenly over the top of the bars.3/4 c shredded coconut, 1 3/4 c roughly chopped dark chocolate or chocolate chips, 1 1/4 c roughly chopped roasted & salted almonds
- Bake for 20-25 minutes, or until bubbly and top and edges are starting to brown. Let cool completely. Run a knife around the edge of the pan to loosen the bars if they've stuck. Then, pull them out of the pan using the parchment paper, cut into 16 bars, and enjoy!
Notes
Did You Make This Recipe? Leave a Review!
If you made this recipe and loved it (or didn’t love it), please consider leaving a review and a comment below! Reviews help these recipes show up more prominently in online searches, and feedback in the comments (good or bad…but please be kind:)) helps me know what turns out well for you and what could use some work.
Thanks for being here and baking my recipes!


You May Also Like
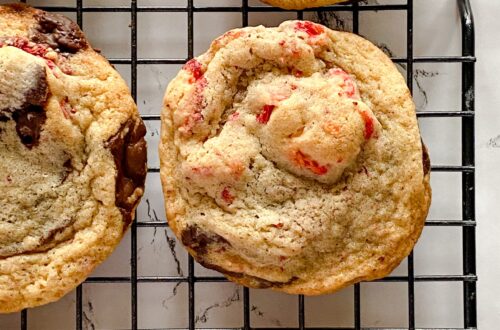
Chocolate-Covered Strawberry Chocolate Chip Cookies
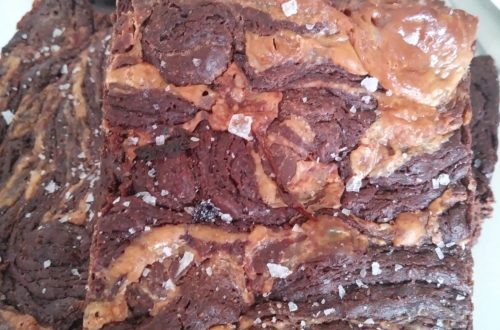
Salted Caramel Brownies